The Rusted Ink Bottle Cap
Restoration
By PensInk – On October 17th, 2020
Last revised on 11 November 2020
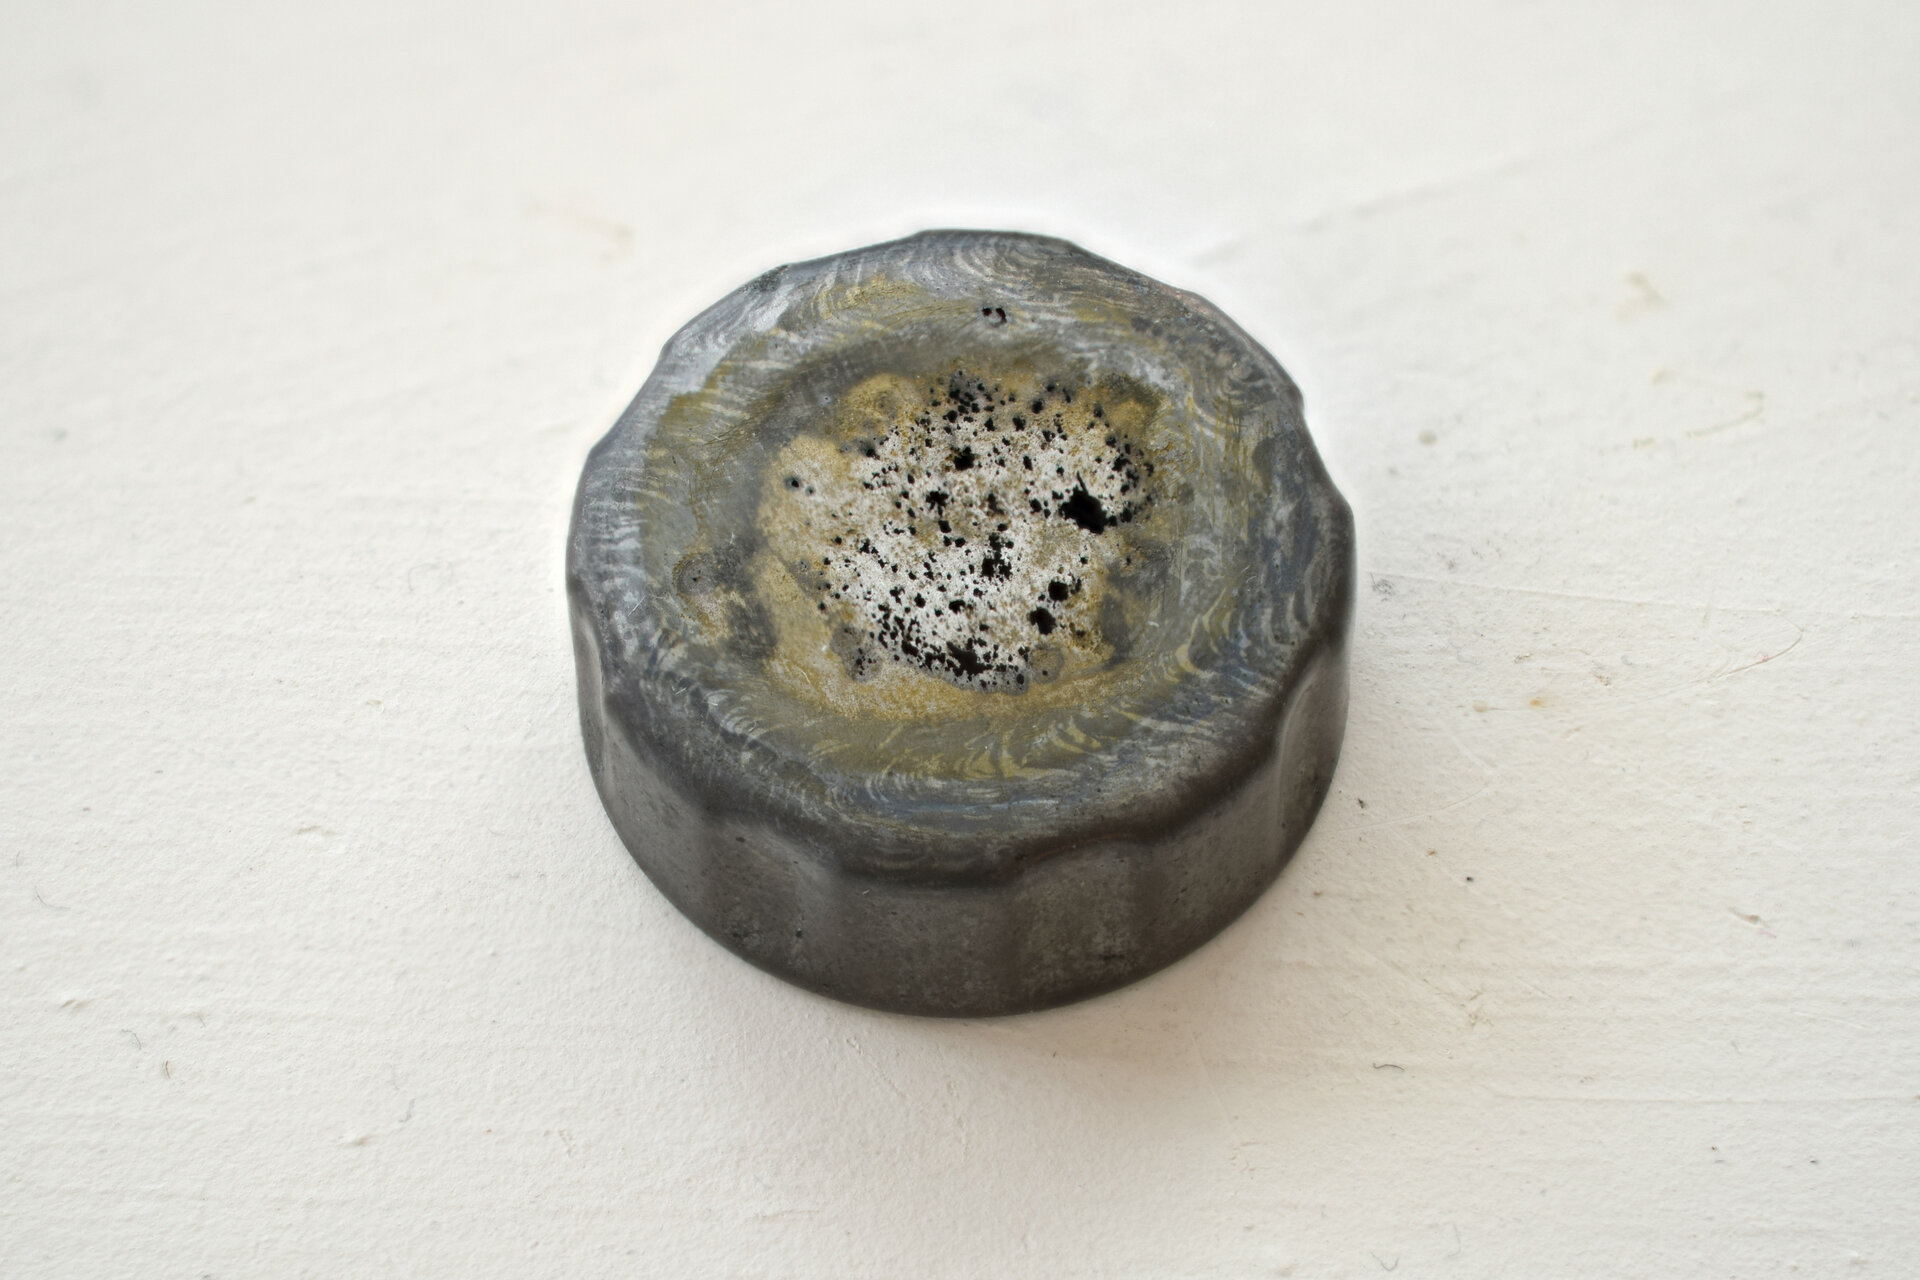
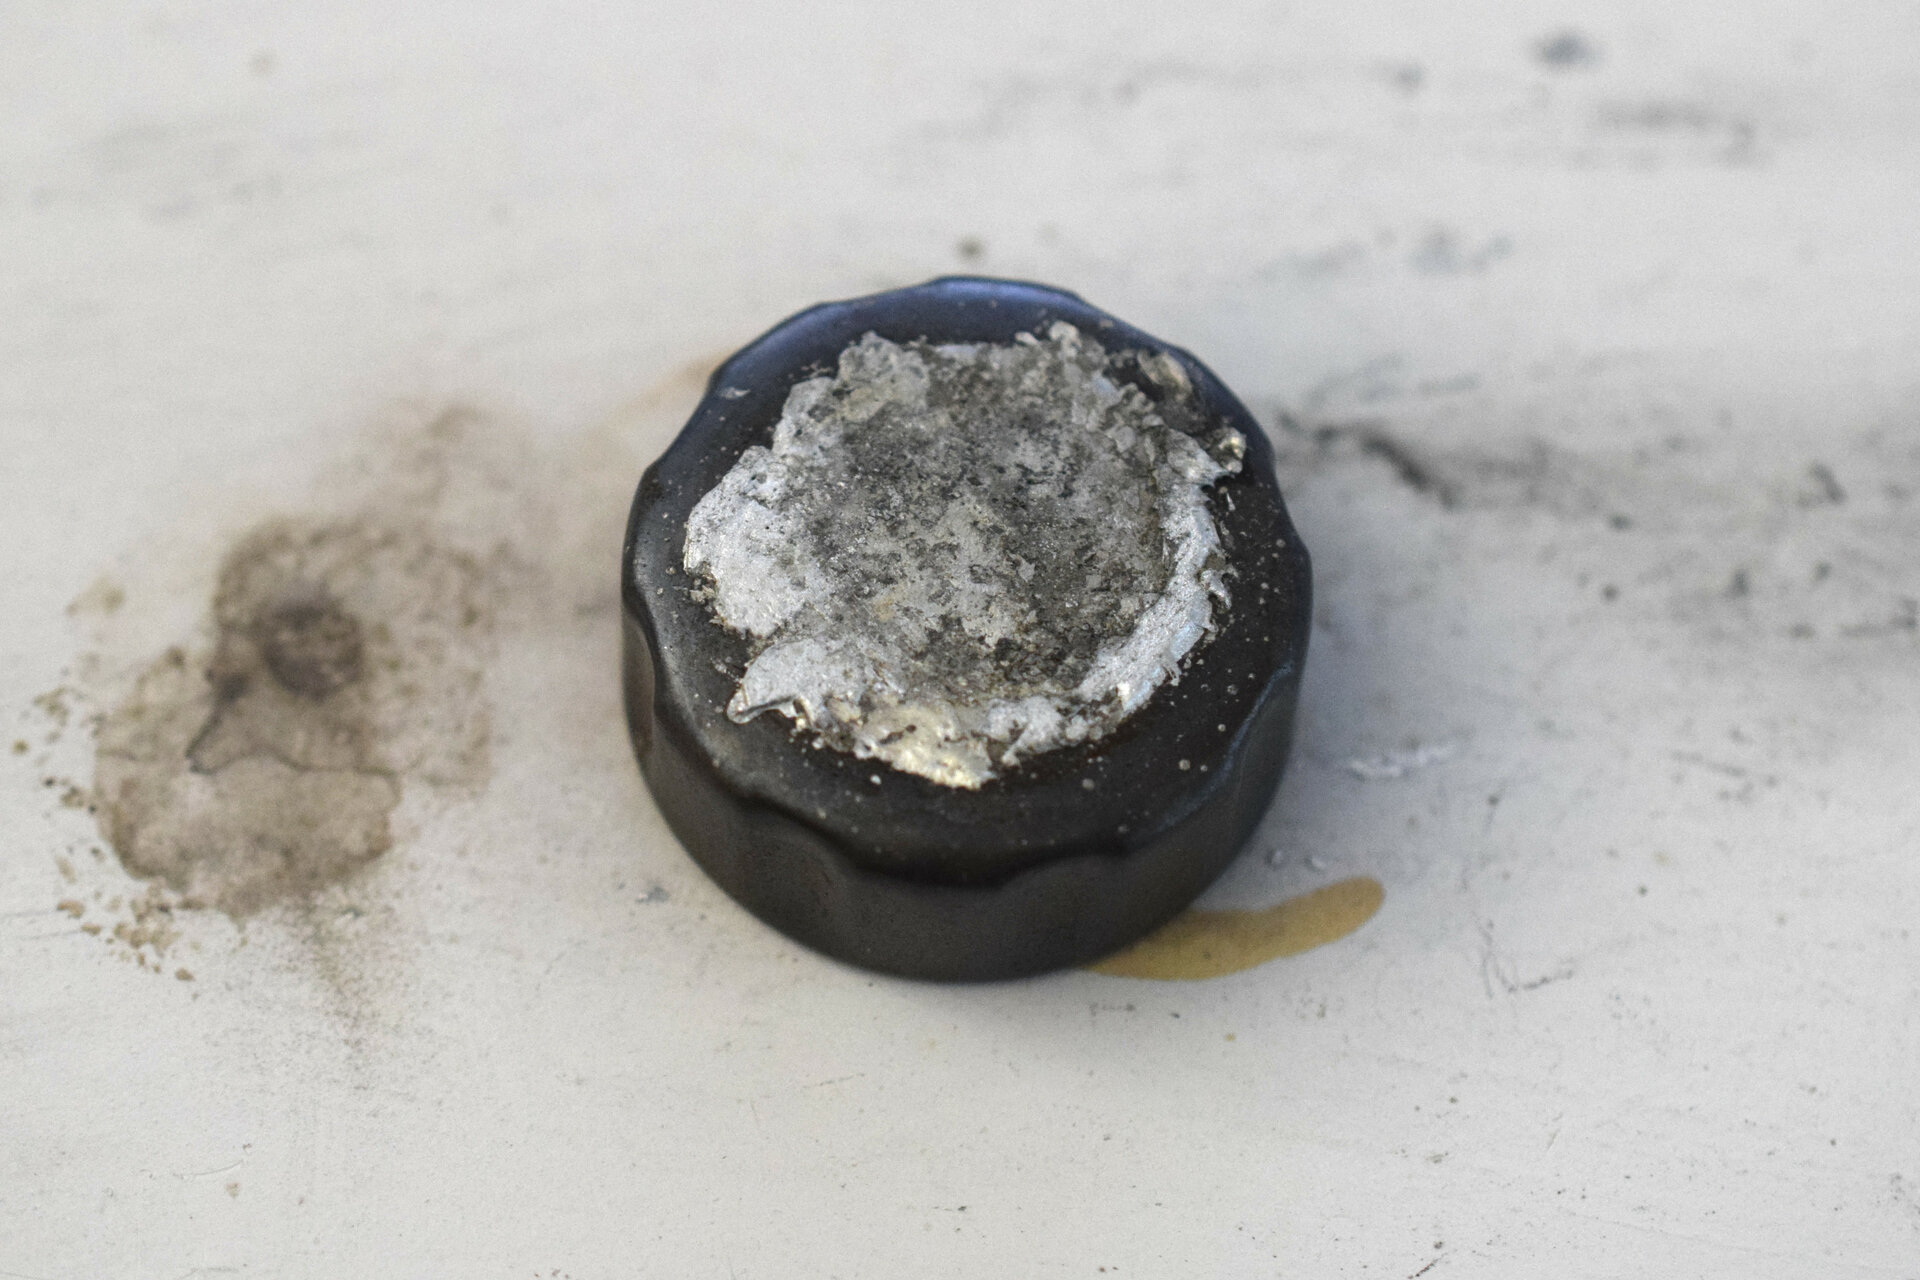
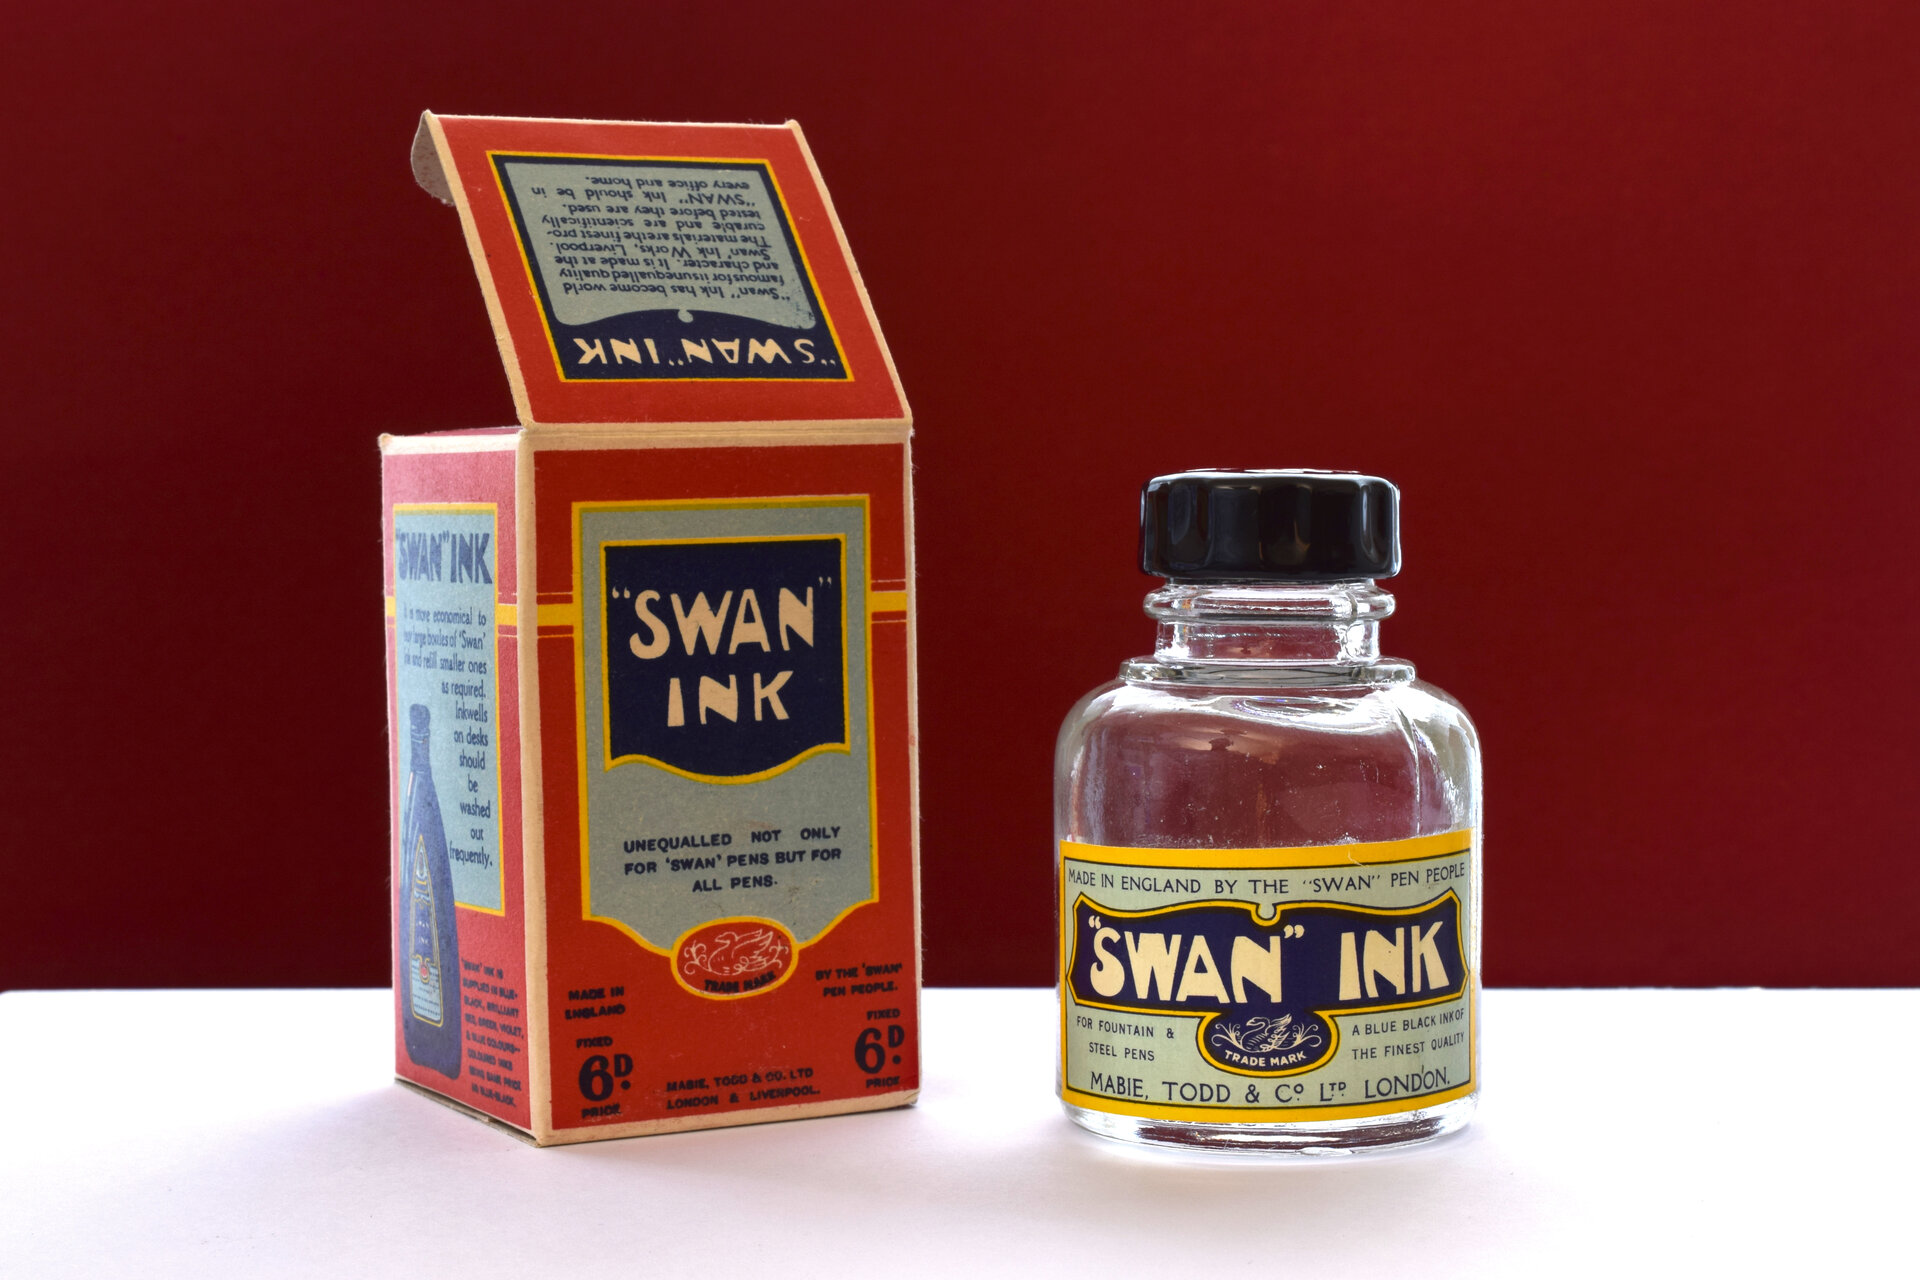
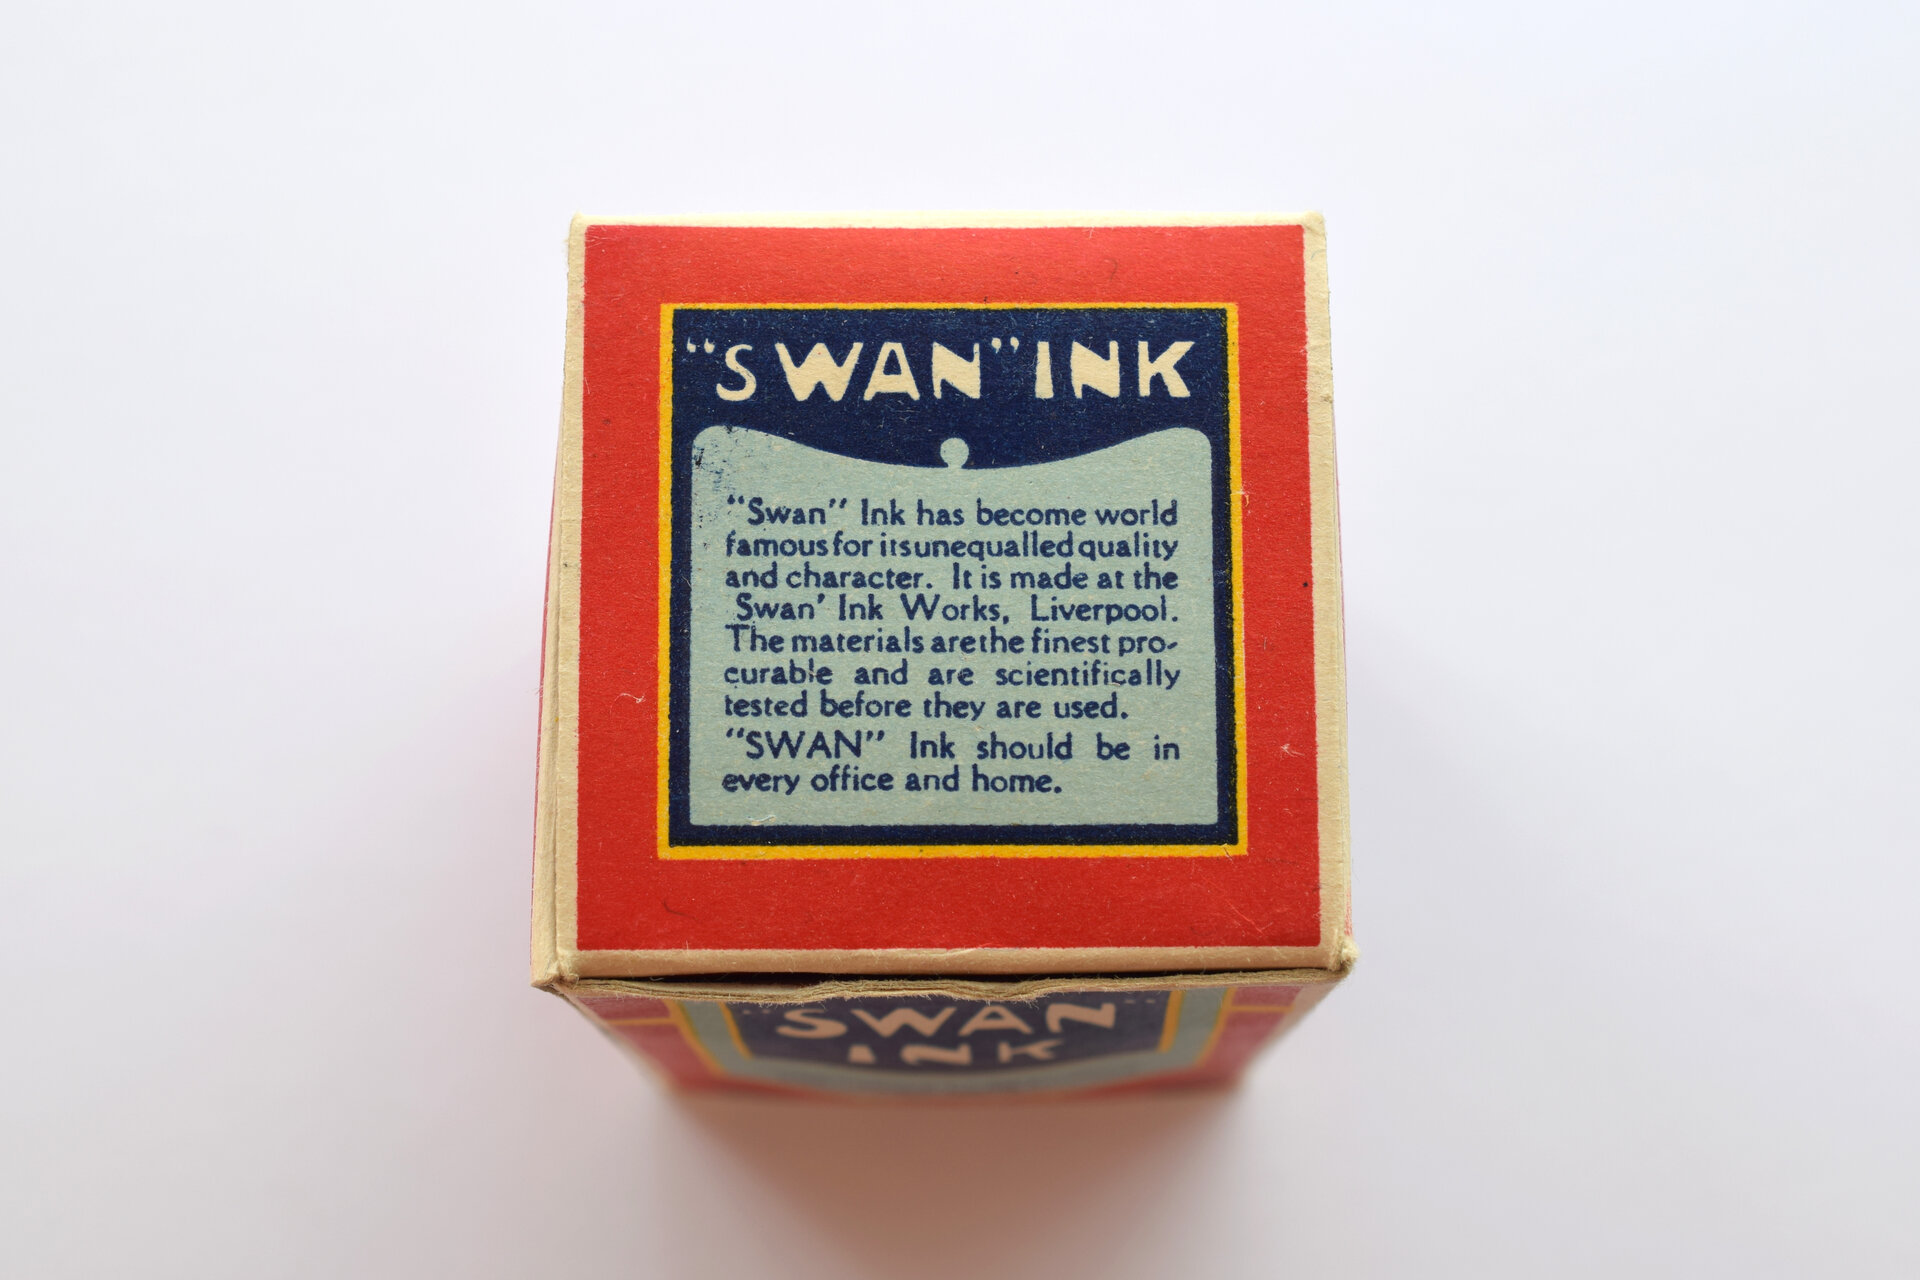
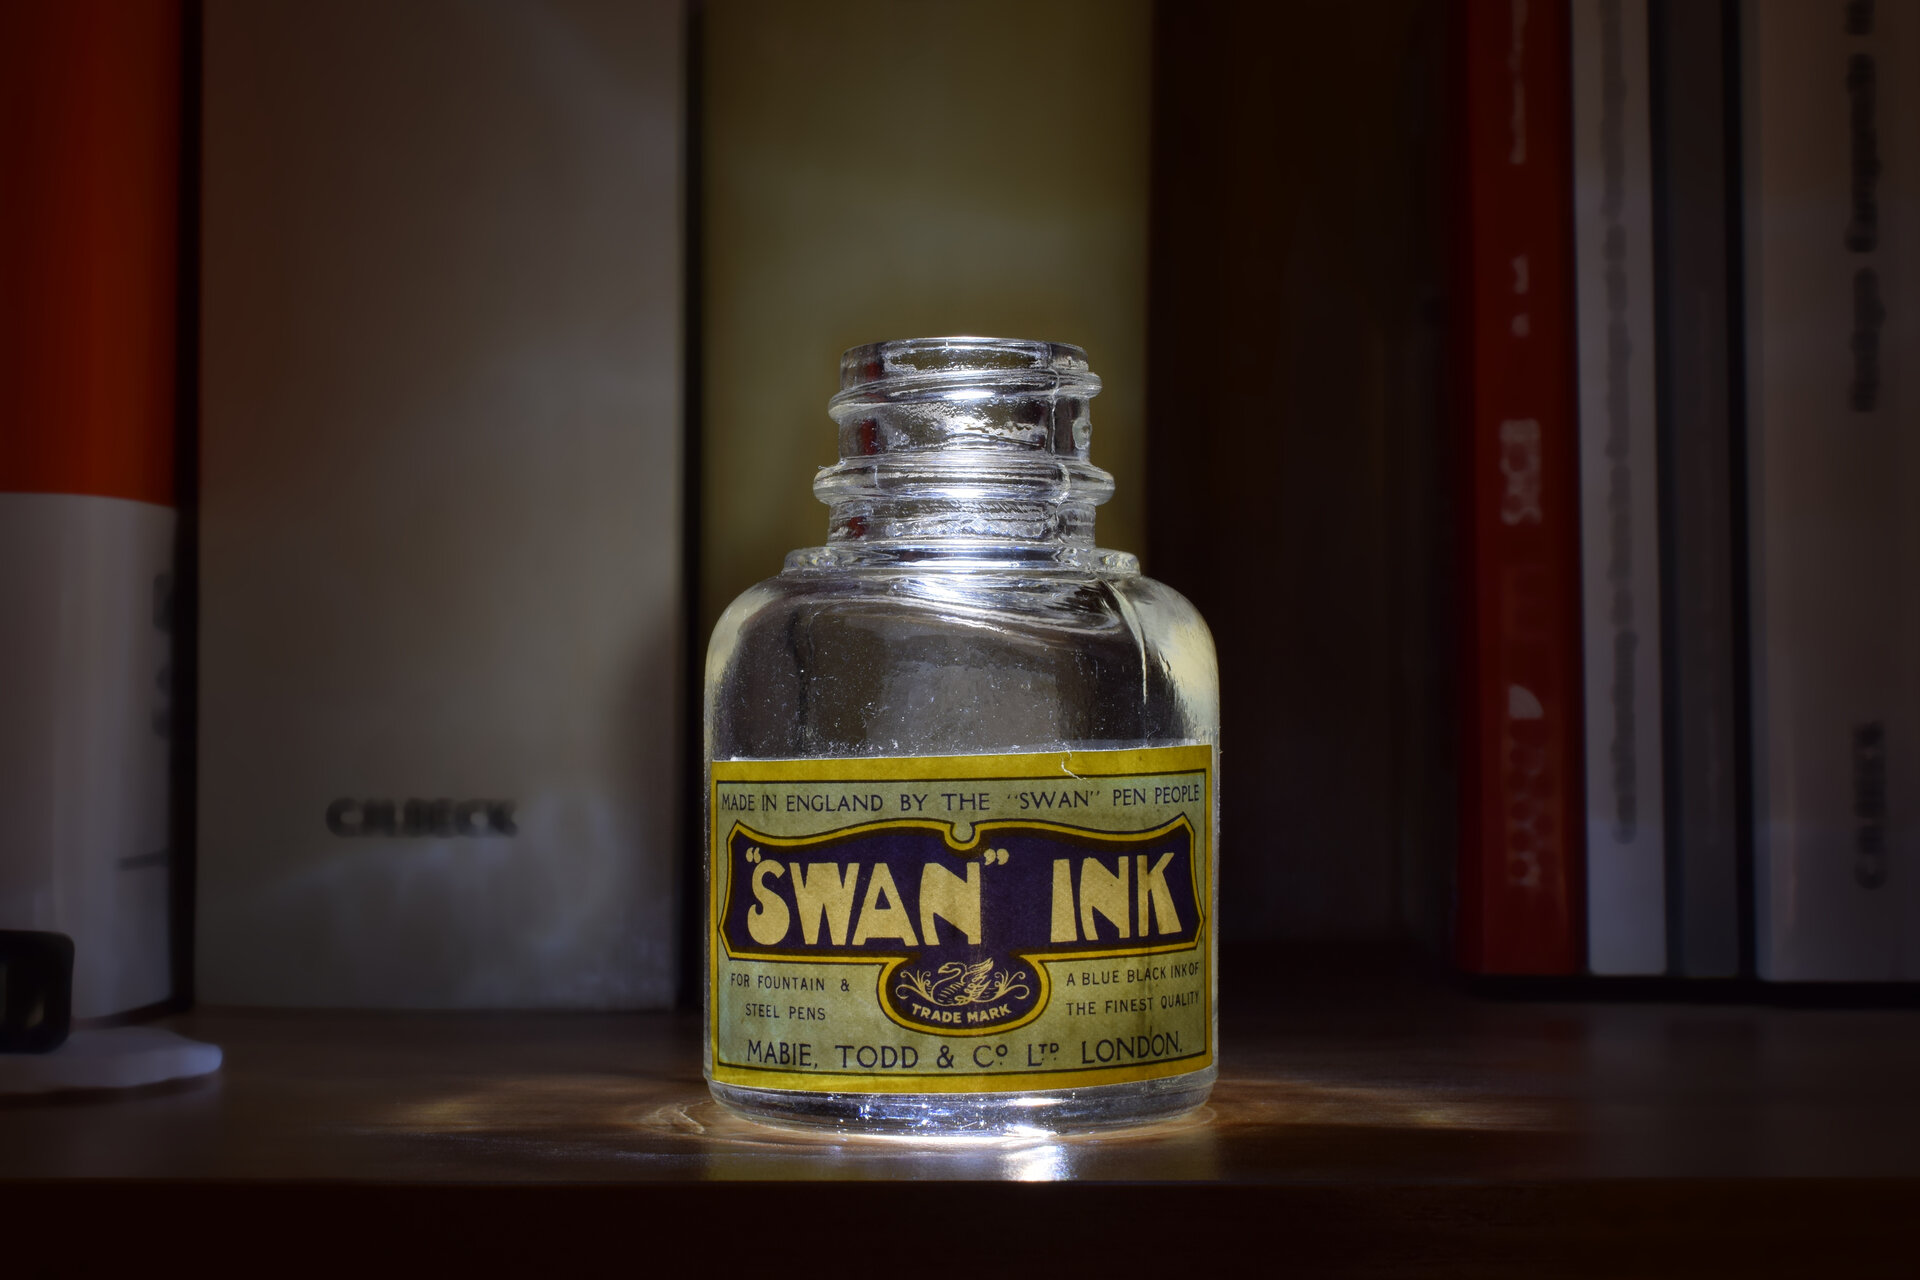
1The design of the old SWAN ink bottles from Mabie Todd & Co. LTD are probably the epitome of retro design. They were available in small, medium, large and even bigger. Recently I was able to buy such a glass of standard SWAN ink in the color blue-black on an auction platform – in (almost) perfect condition, including the original cardboard packaging. The problem was the screw cap made of sheet steel, which showed a typical damage pattern: Over time, the moisture in the ink bottle seemed to settle in the top of the cap, where the cork sealing was inserted, so that it rusted through piece by piece. However, the whole thing happened quite inconspicuously – depending on the degree of corrosion, on the outside of the top of the cap, someone could erroneously assume that it was just dirt or glue residue from a price tag:
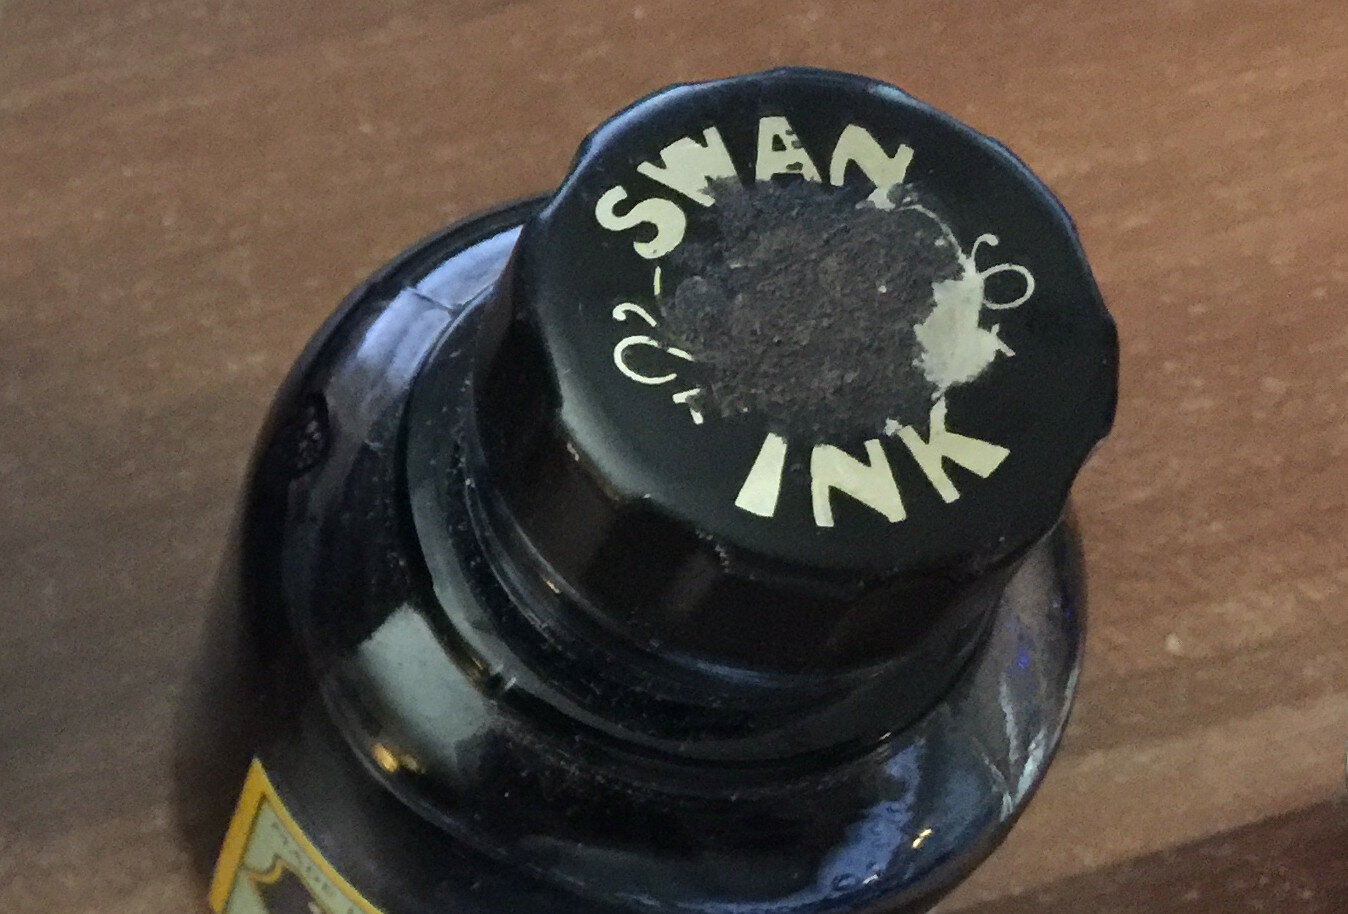 Fig. 1
2Allegedly the ink bottle was never opened, so the ink was untouched too. However, it was no longer usable in terms of its consistency. One could have let the ink bottle stand there for another thirty years, of course, but I preferred to bring it to life again.
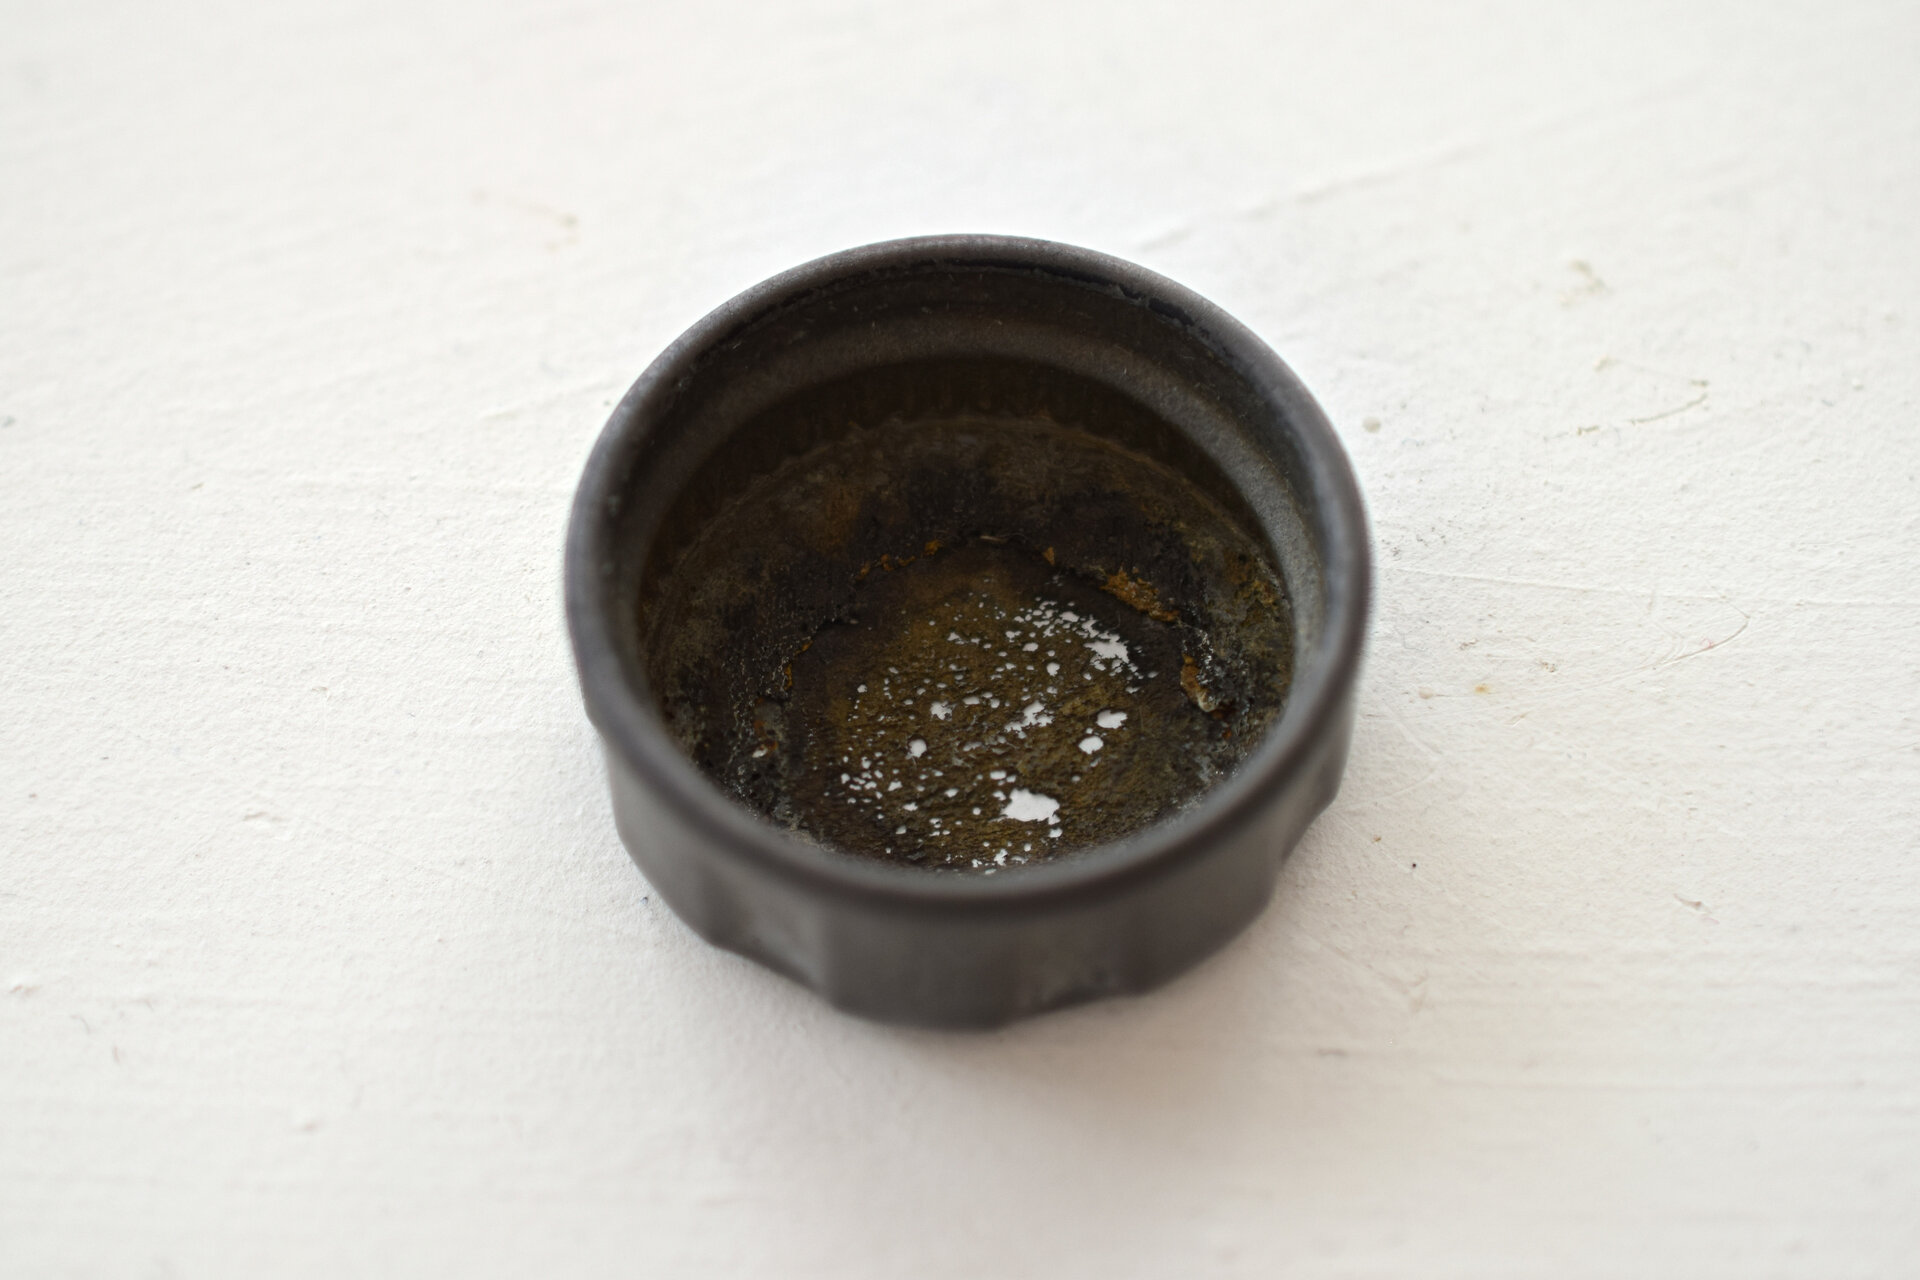
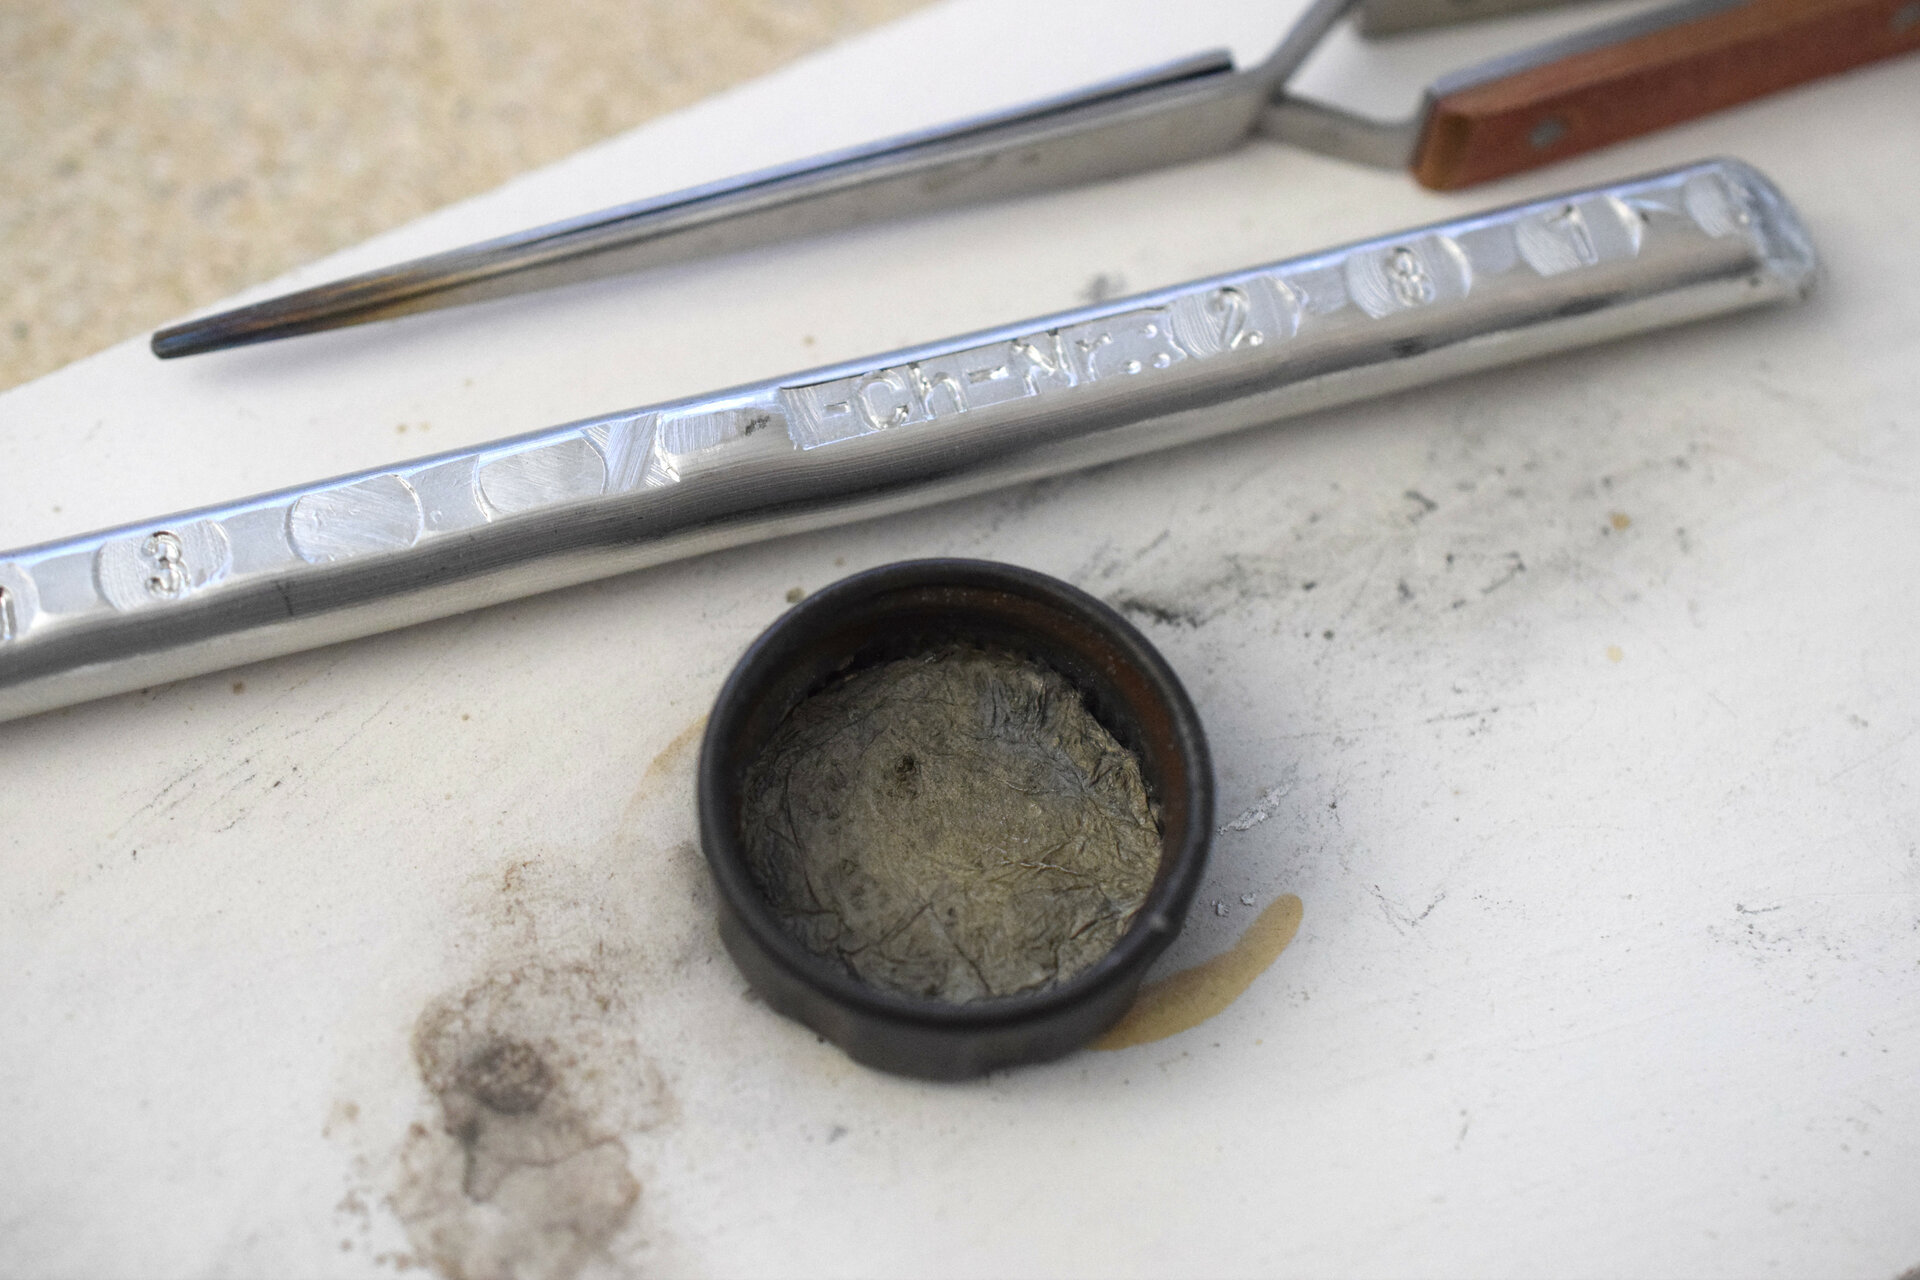
3Therefore, the old slimy cork seal and the rust had to be removed first. In this case, it had to be carefully removed mechanically and then chemically with citric acid:
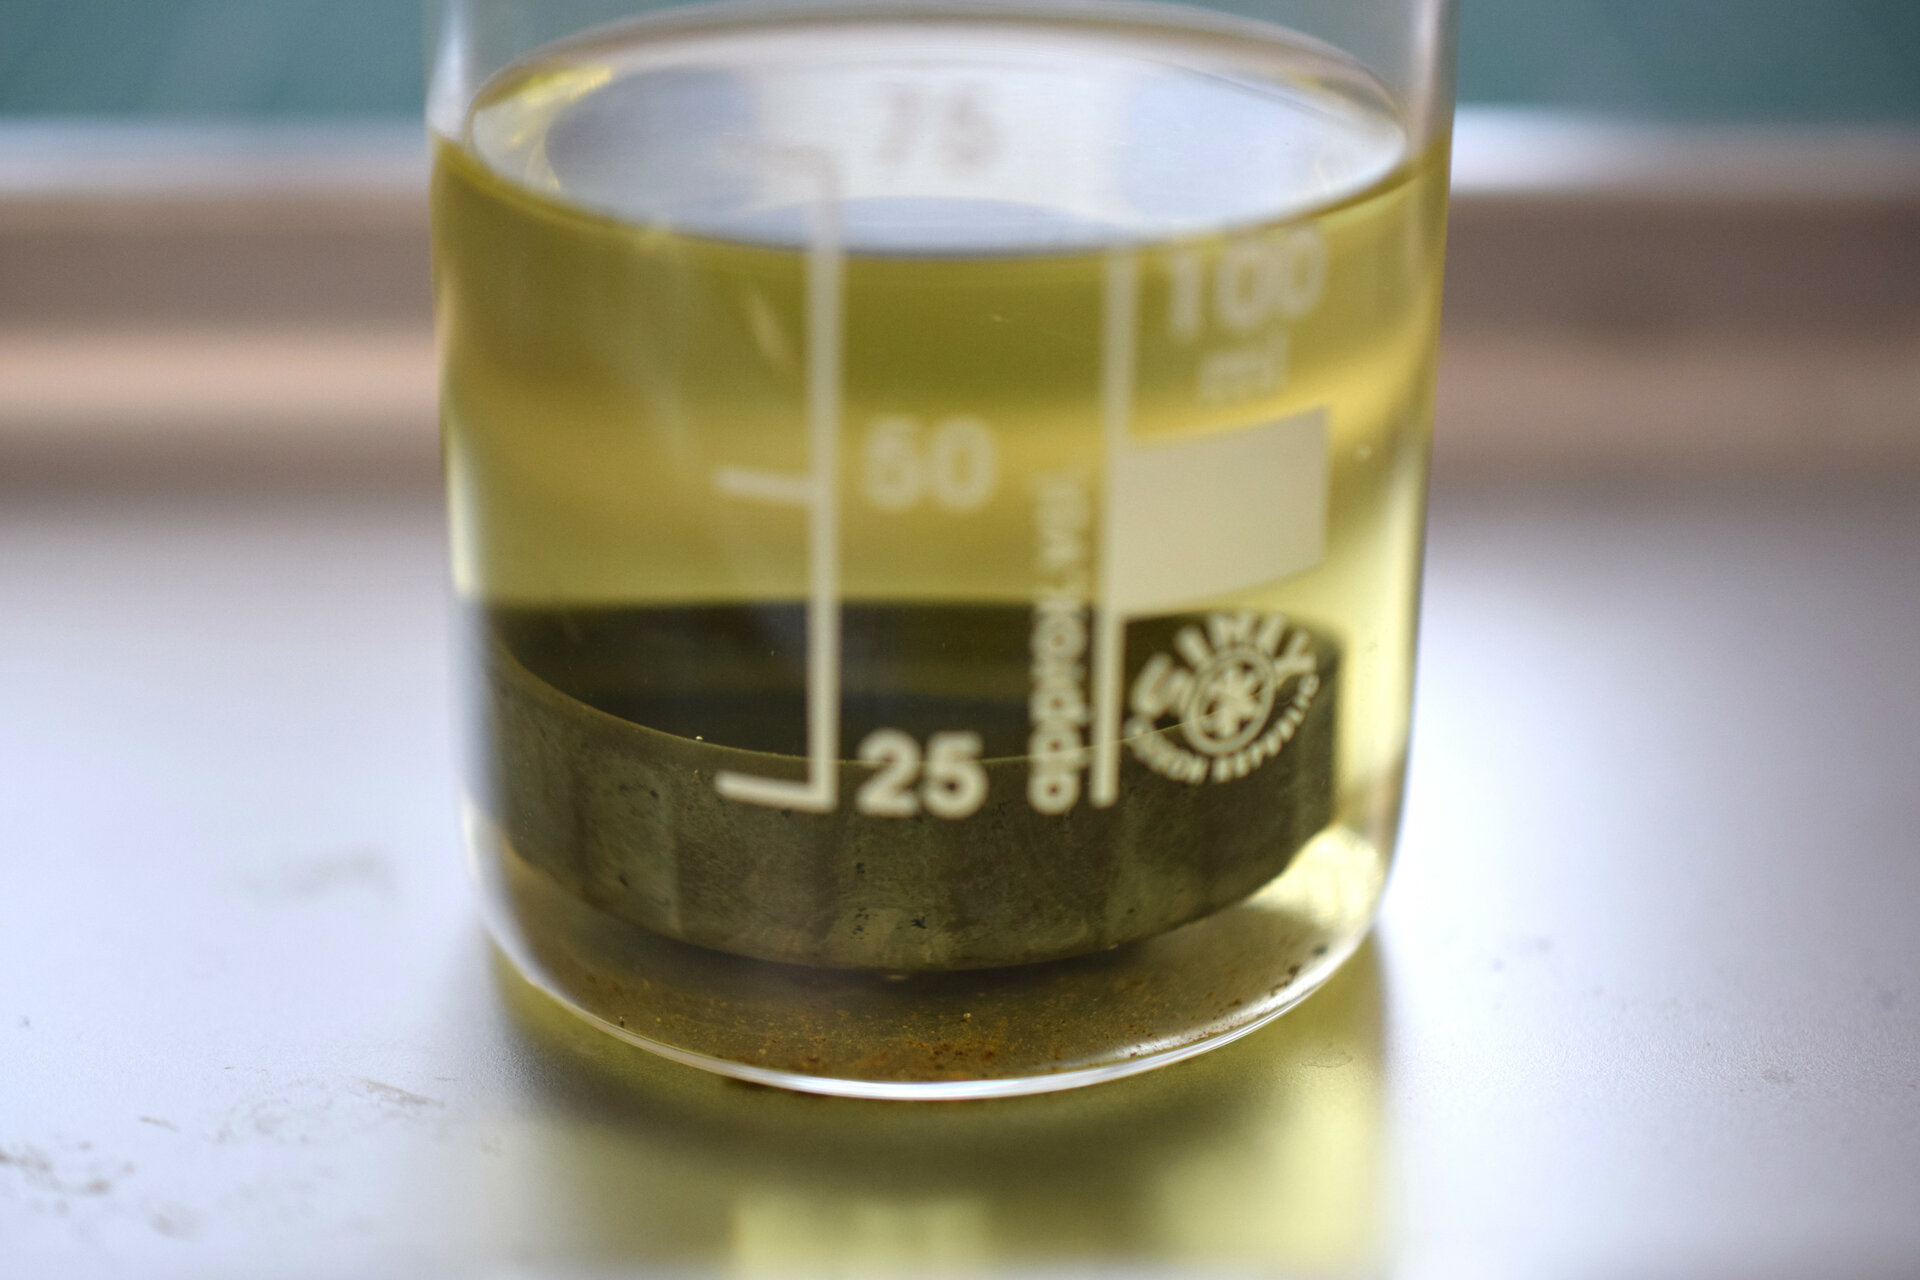 Fig. 2
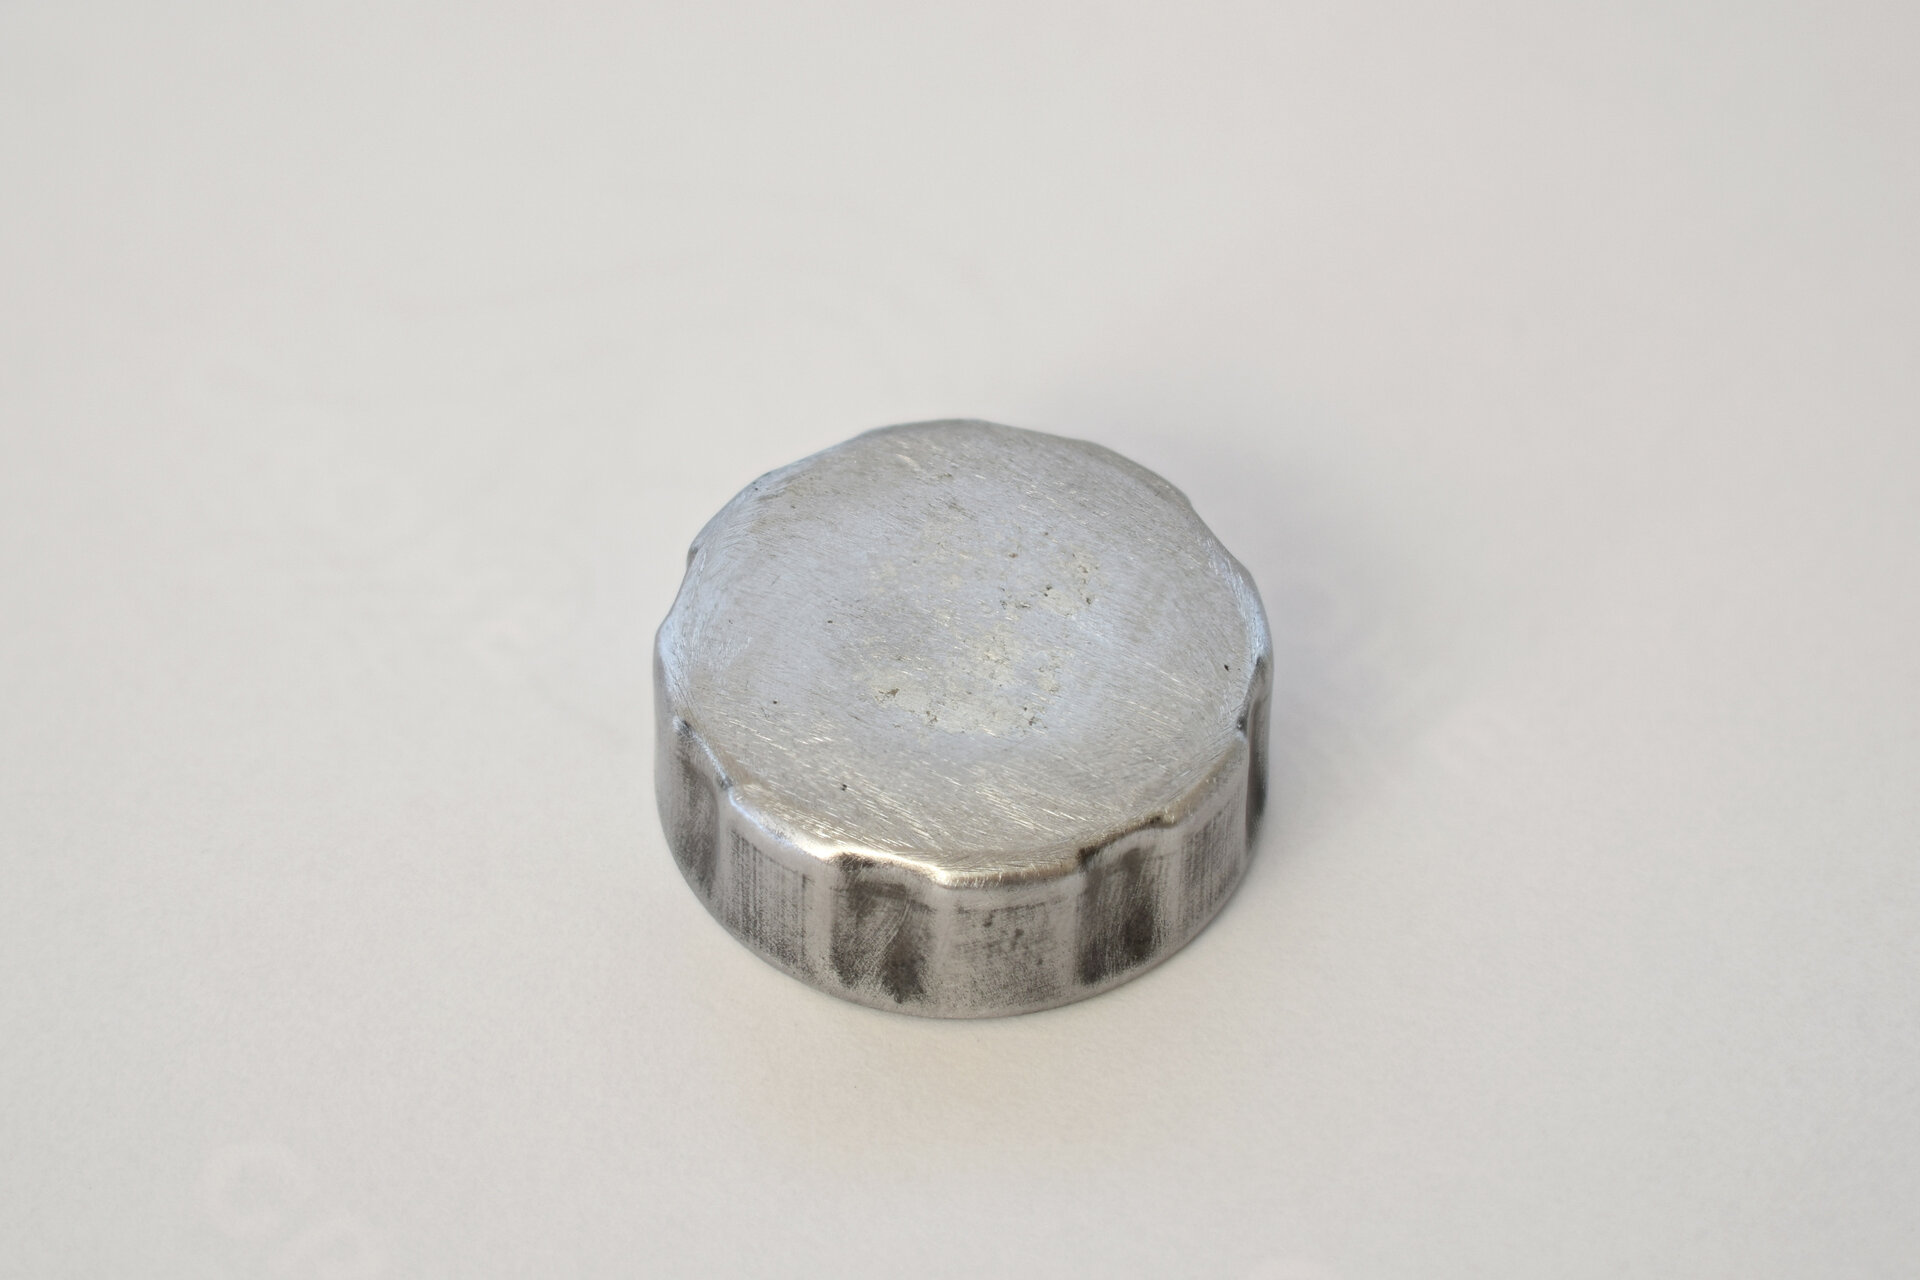
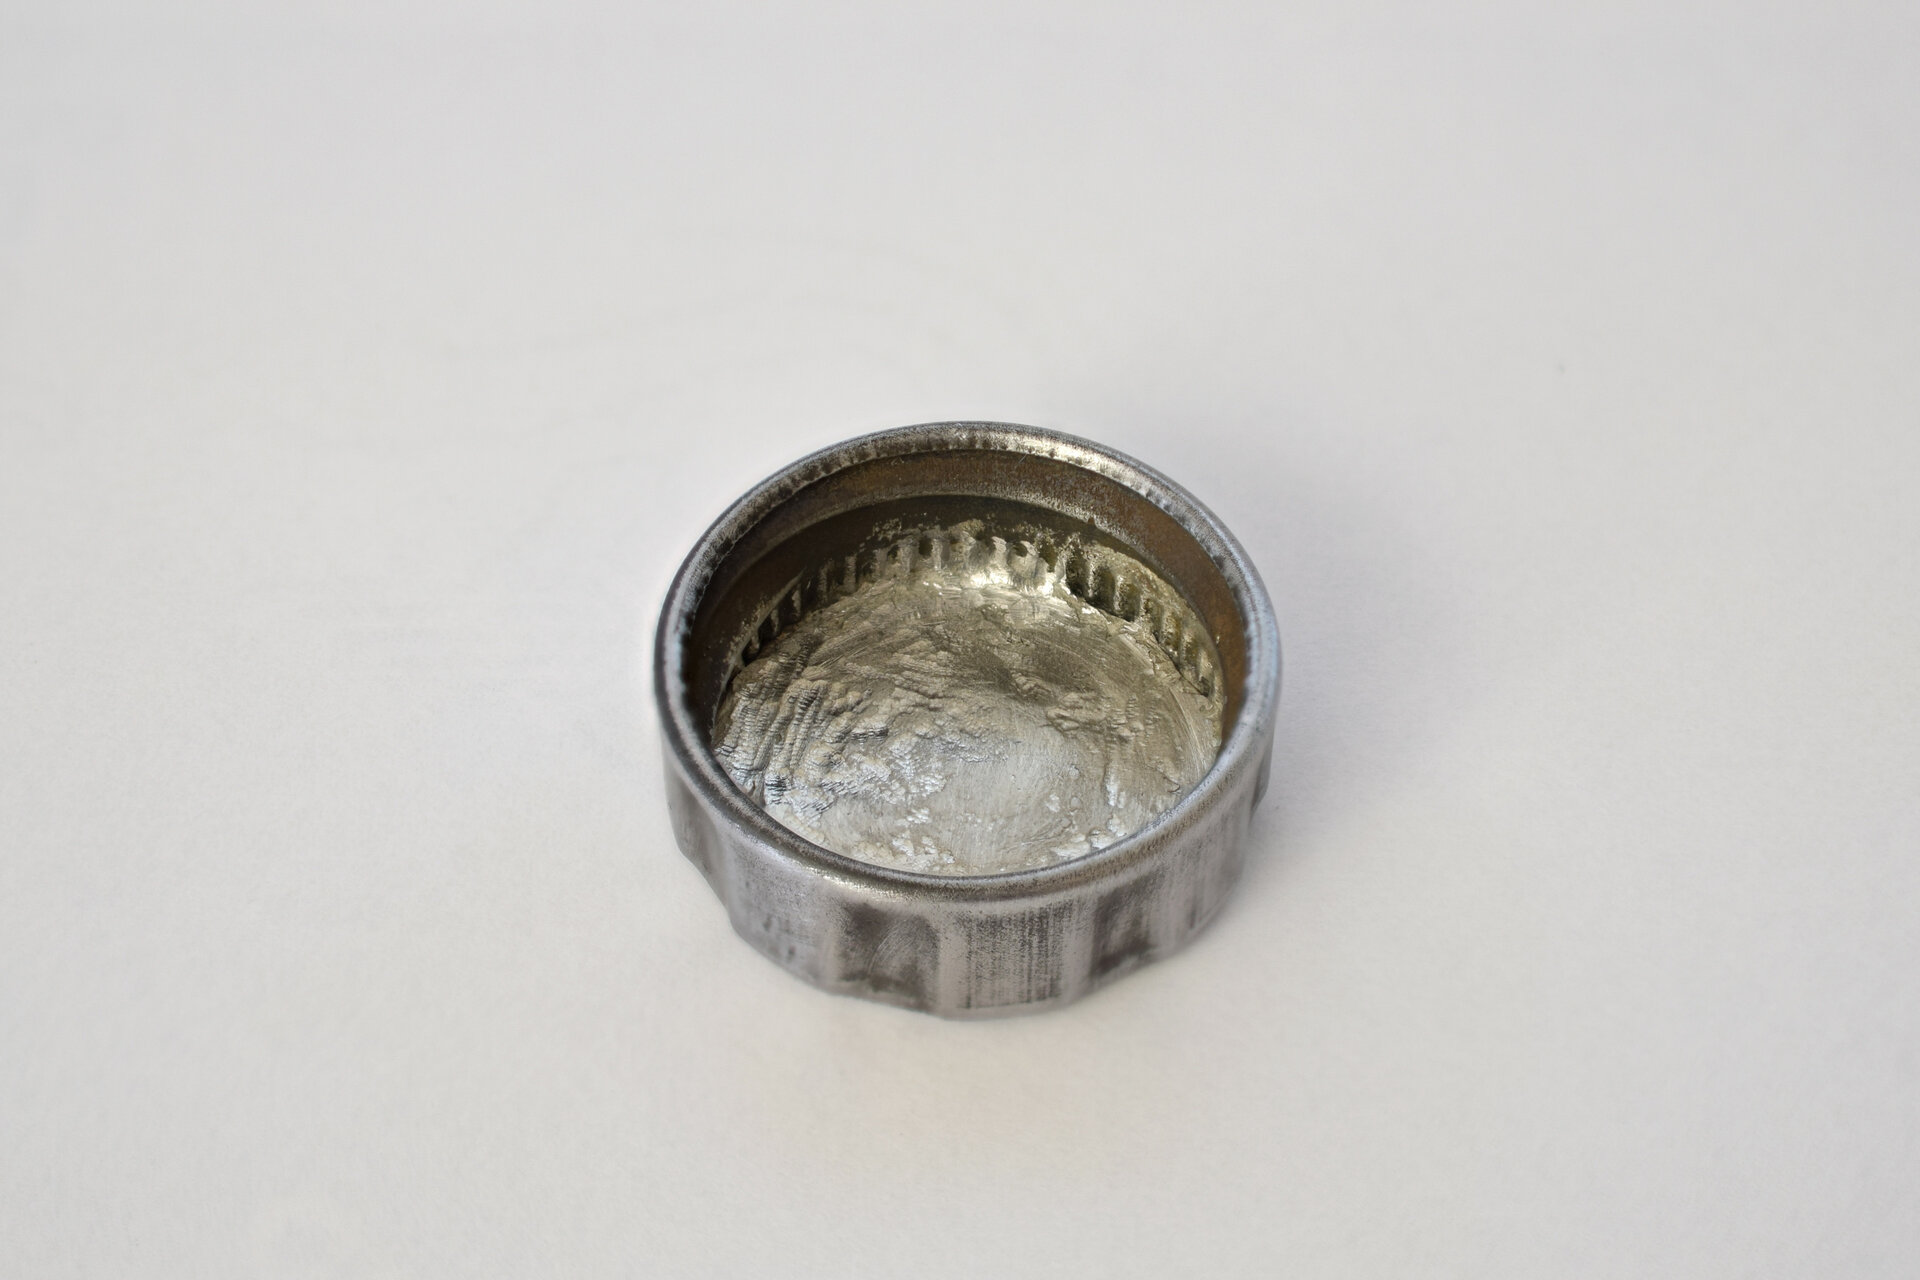
4The whole thing then looked like this. You can see that only the entire top side was affected by the rust and the rest was largely in order. However, manual regrinding was still necessary, although the rust was certainly not completely removed, because I wanted to keep the structure as much as possible and I didn't want to remove more stable material than necessary. The pictures show the state before and after the bath in citric acid:
5Now a question came up: How the hell do you repair something like that? There are all sorts of body fillers for car bodies, but when it comes to restoring antique cars, the opinion may have gained ground that tinning is, not in all, but in many cases, a good choice. In addition, body fillers are supposed to have the tendency to attract moisture – especially in our case we want to avoid this.
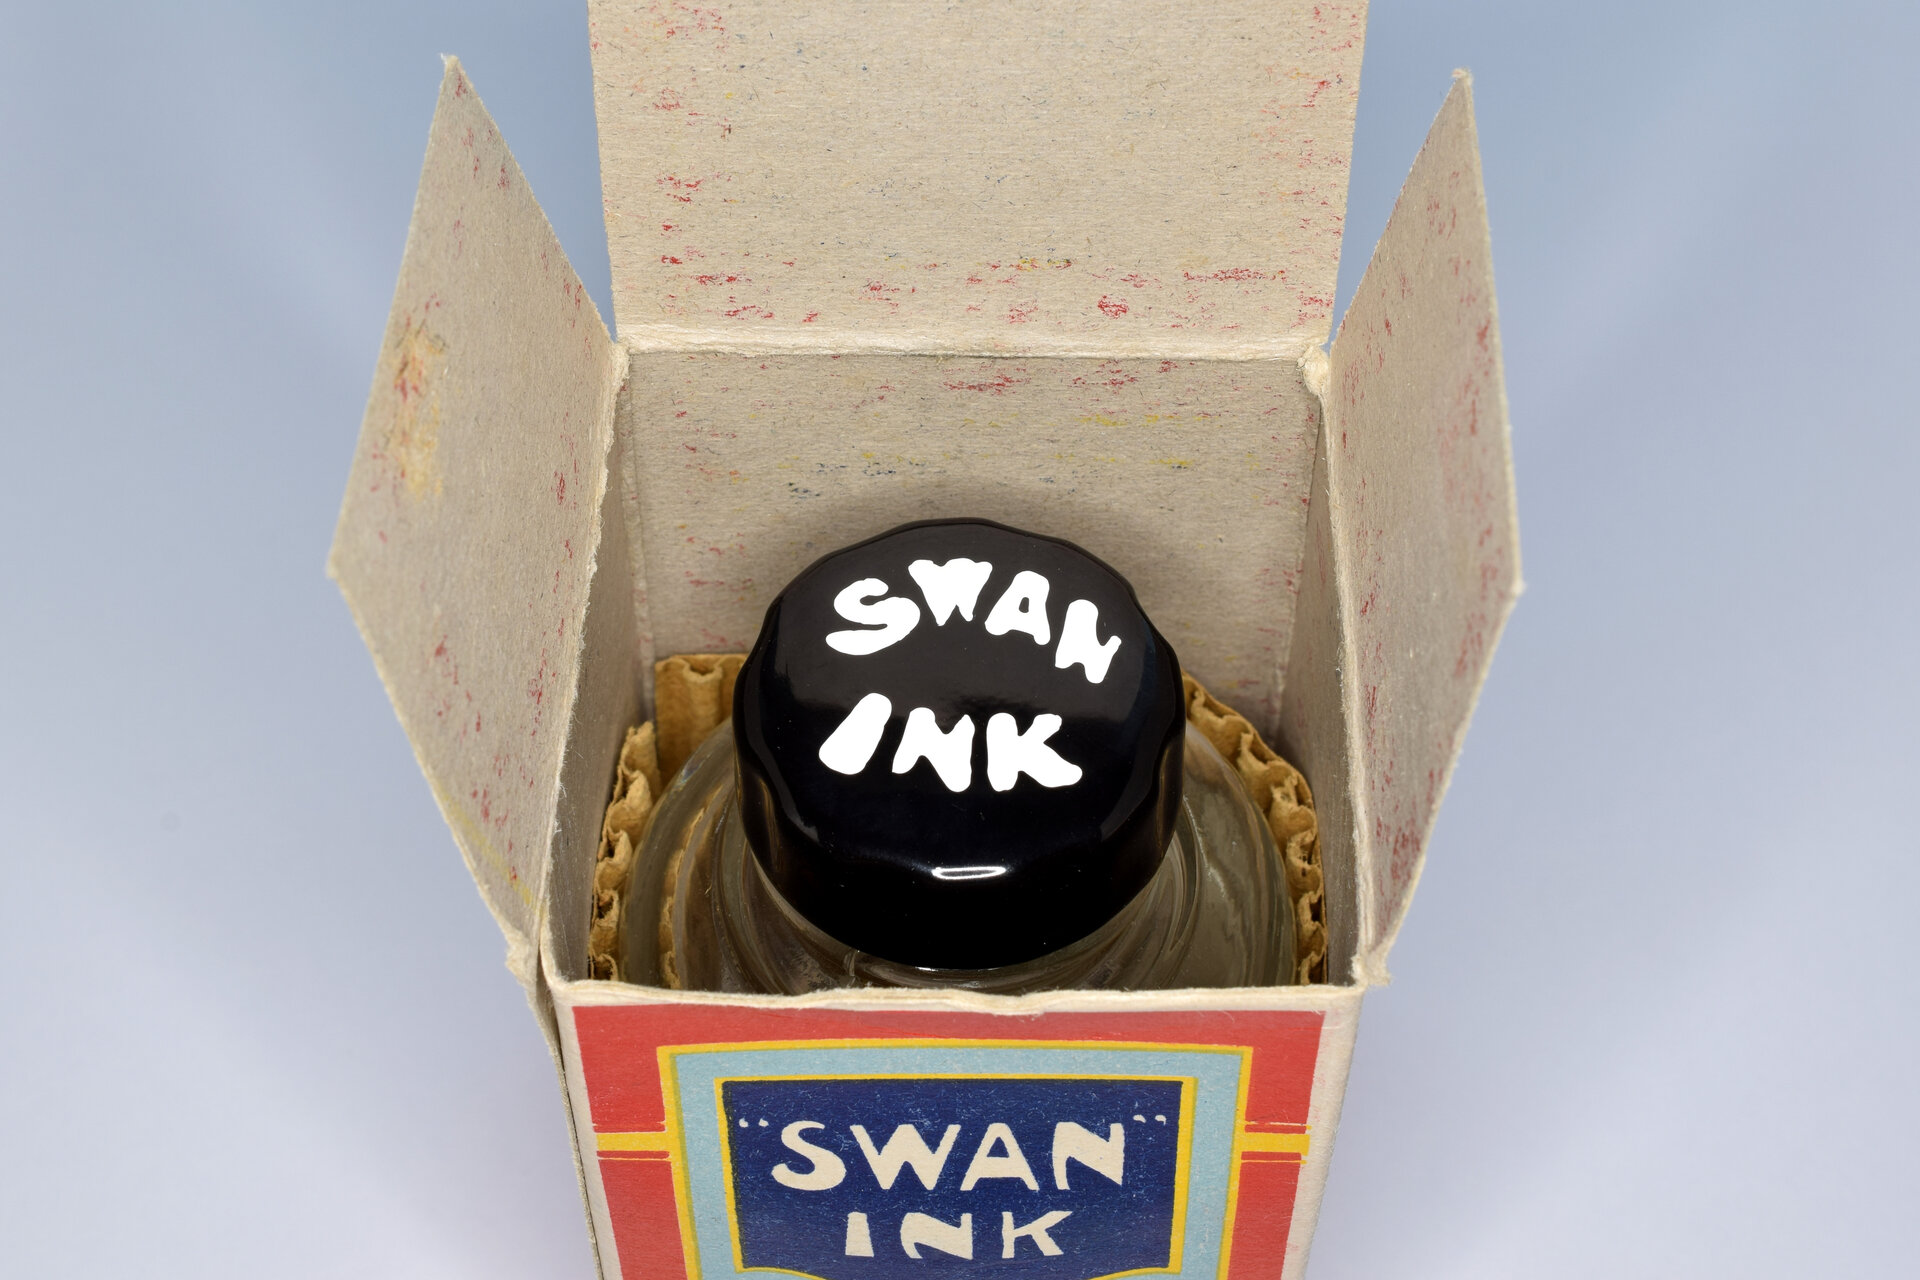
6In order for the tin to adhere properly to the metal, it is necessary to apply a tinning paste before tinning and to heat it until a shiny layer of melted tin is formed. It is important that the whole thing is then washed off before the tin is applied, as the flux residues could otherwise cause further corrosion:
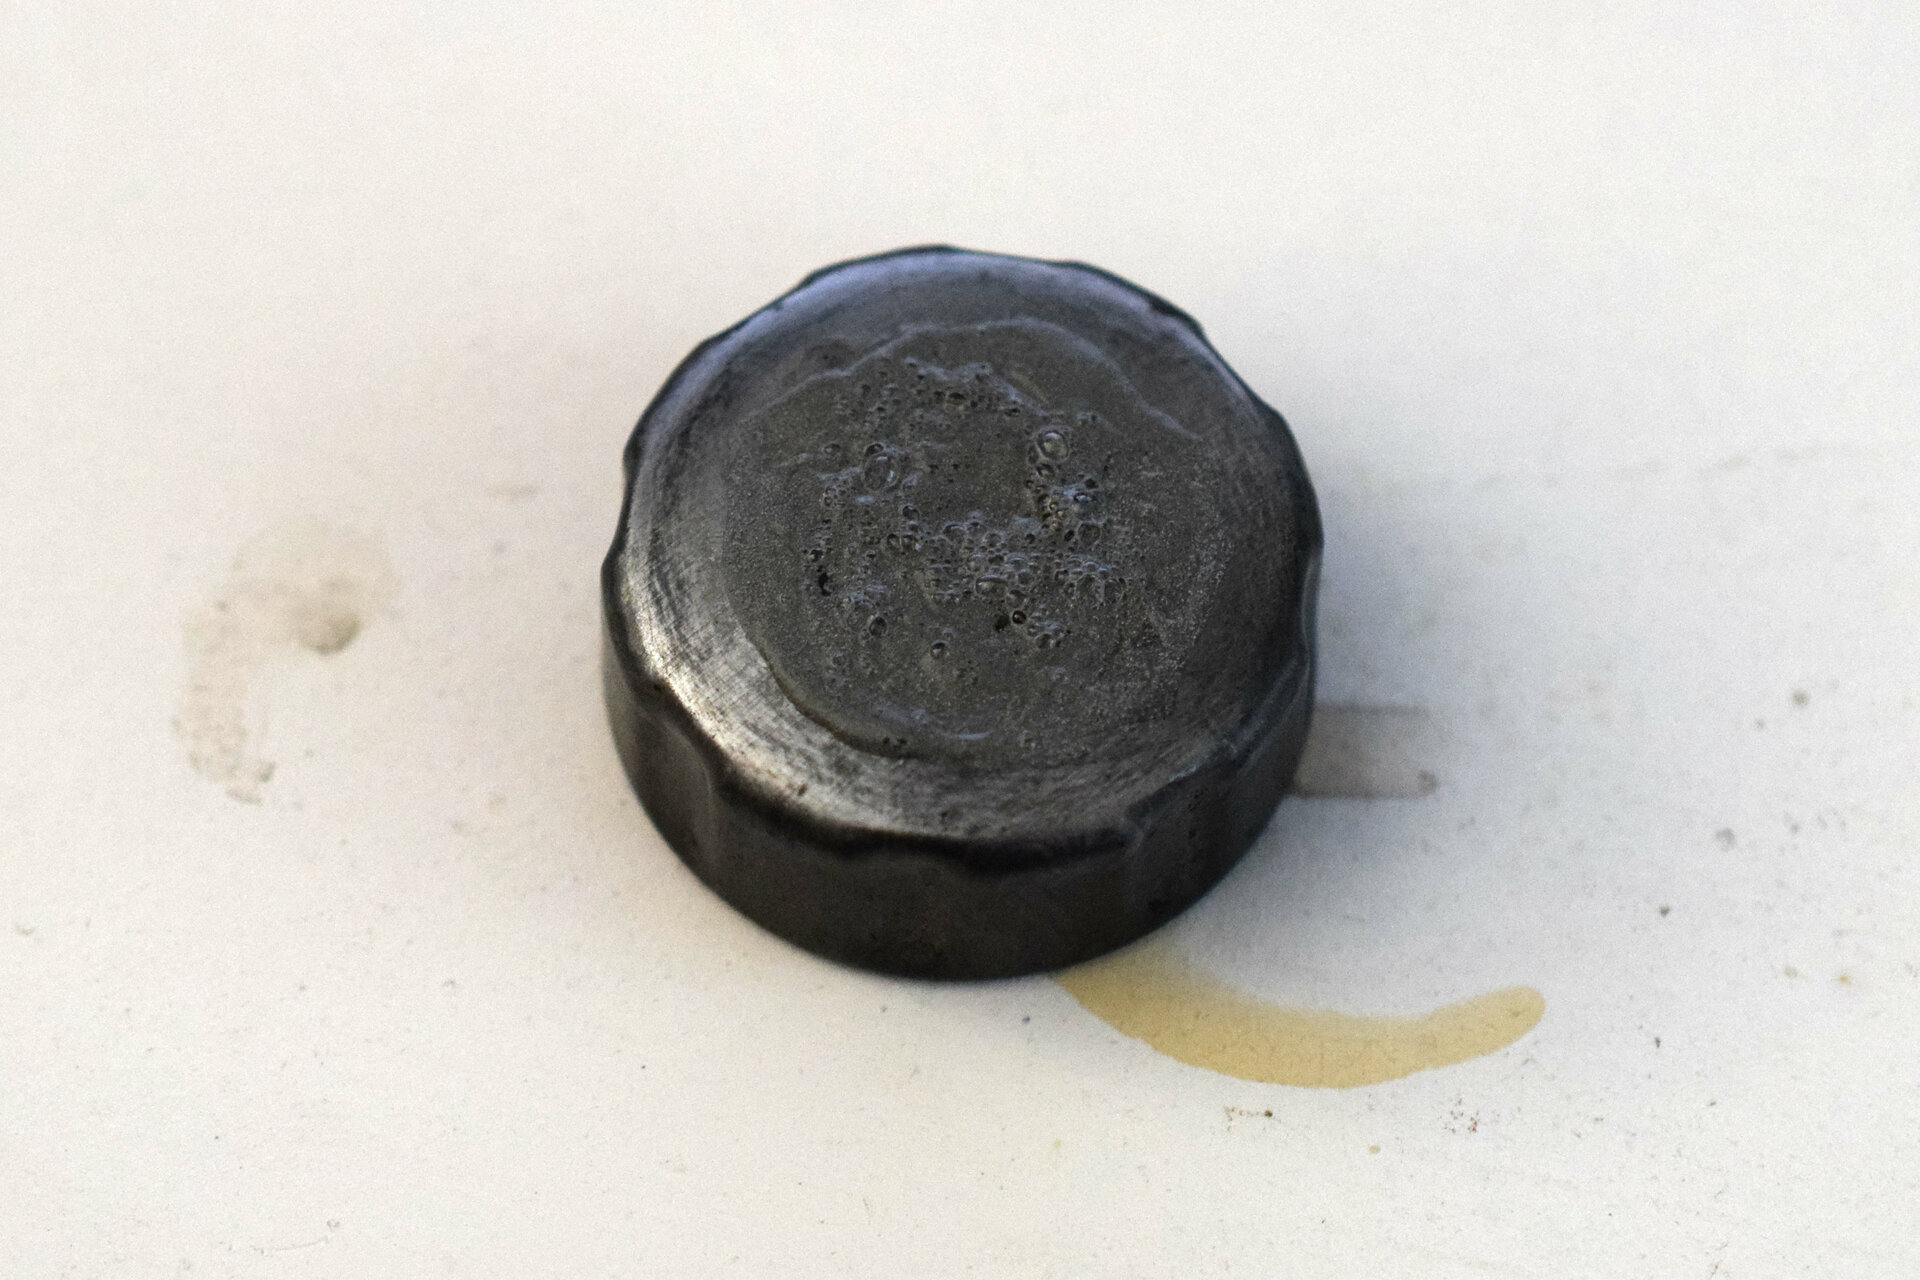
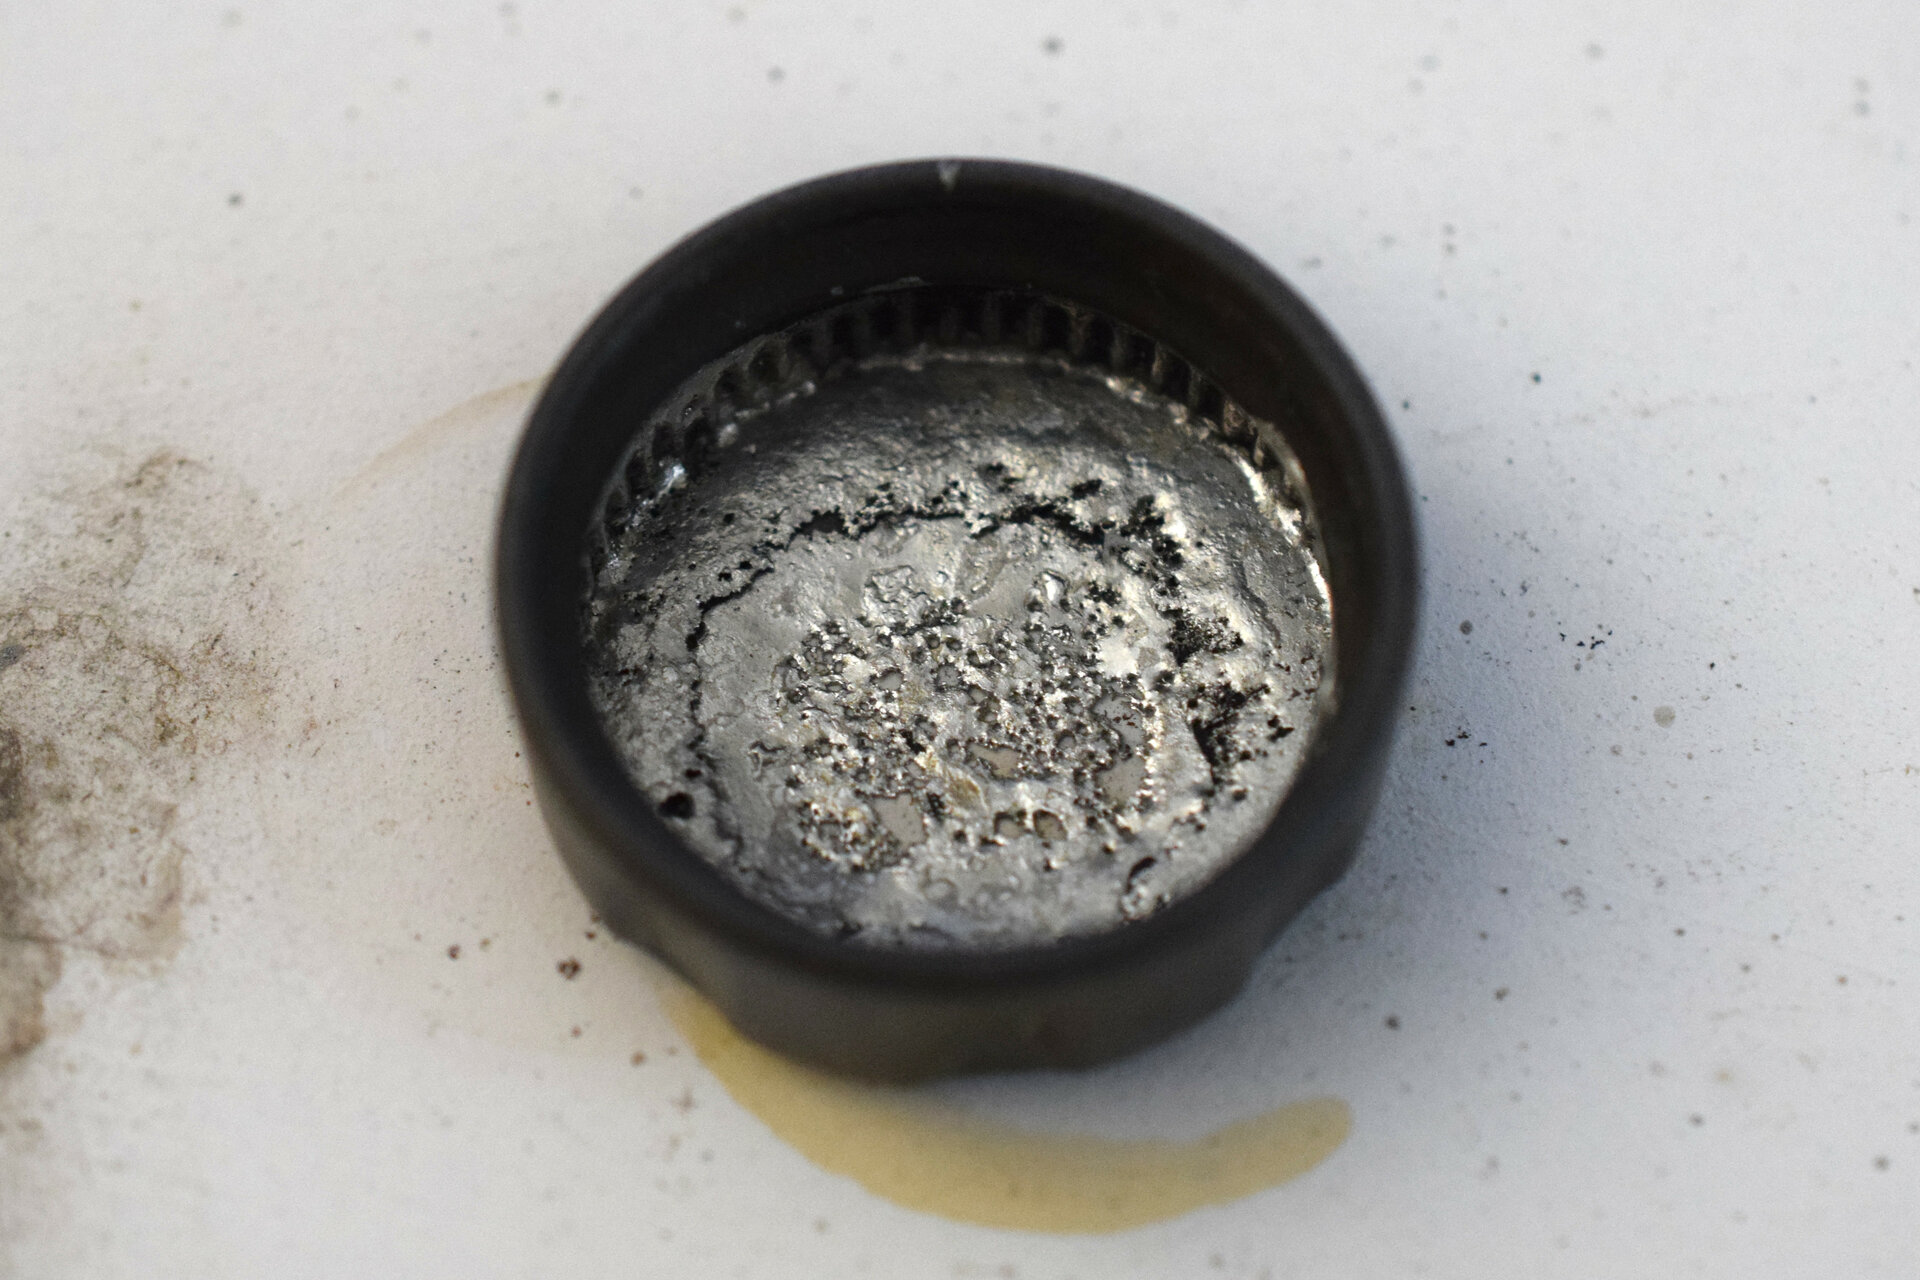
7Normally, the tin is only heated until it takes on a paste-like consistency. It is then modelled with a piece of wood coated with wax. However, this was not possible here. The object to be restored was simply too small, the tin bar too large and inside the cap this would have been too friable. So I simply let liquid tin run into the cap and swung it around and heated it up again and again until the whole surface was covered. Of course, you have to make sure that the inner layer does not get too thick.
8I did not use pure tin, but a lead-free tin alloy of 90% tin, 7% zinc and 3% copper (Sn90Zn7Cu3) with a melting range of approx. 400–480 °F (or 200–250 °C). This is where the dark discoloration comes from, because the copper contained reacts with the oxygen in the air and forms a dark oxide layer. I did not want to use pure tin because the risk of whisker formation is supposed to be much higher here1:
9Now it was time for grinding. On the upper side it worked without problems with a small file by hand, but on the lower side it became more difficult. I decided to remove the excess material slowly with a spherical cutter of a multifunctional tool (Dremel). There are probably better ways or tools for this. Nevertheless, the result was sufficient because the inside did have to look perfect but only had to be reasonably flat:
10After that, I painted the cap three times with rather viscous varnish. Longer drying times are to be expected depending on the paint – at best, you wait two or three days per application. In principle, it can even take weeks before the varnish is completely dry and solid.
11When the paint was dry, I inserted a suitable flat gasket and with the help of a toothpick and white paint I imitated the lettering “SWAN INK”. Admittedly, I won’t win any prizes with this and it might even have been better to just leave the cap black. On the other hand it could have been much worse:
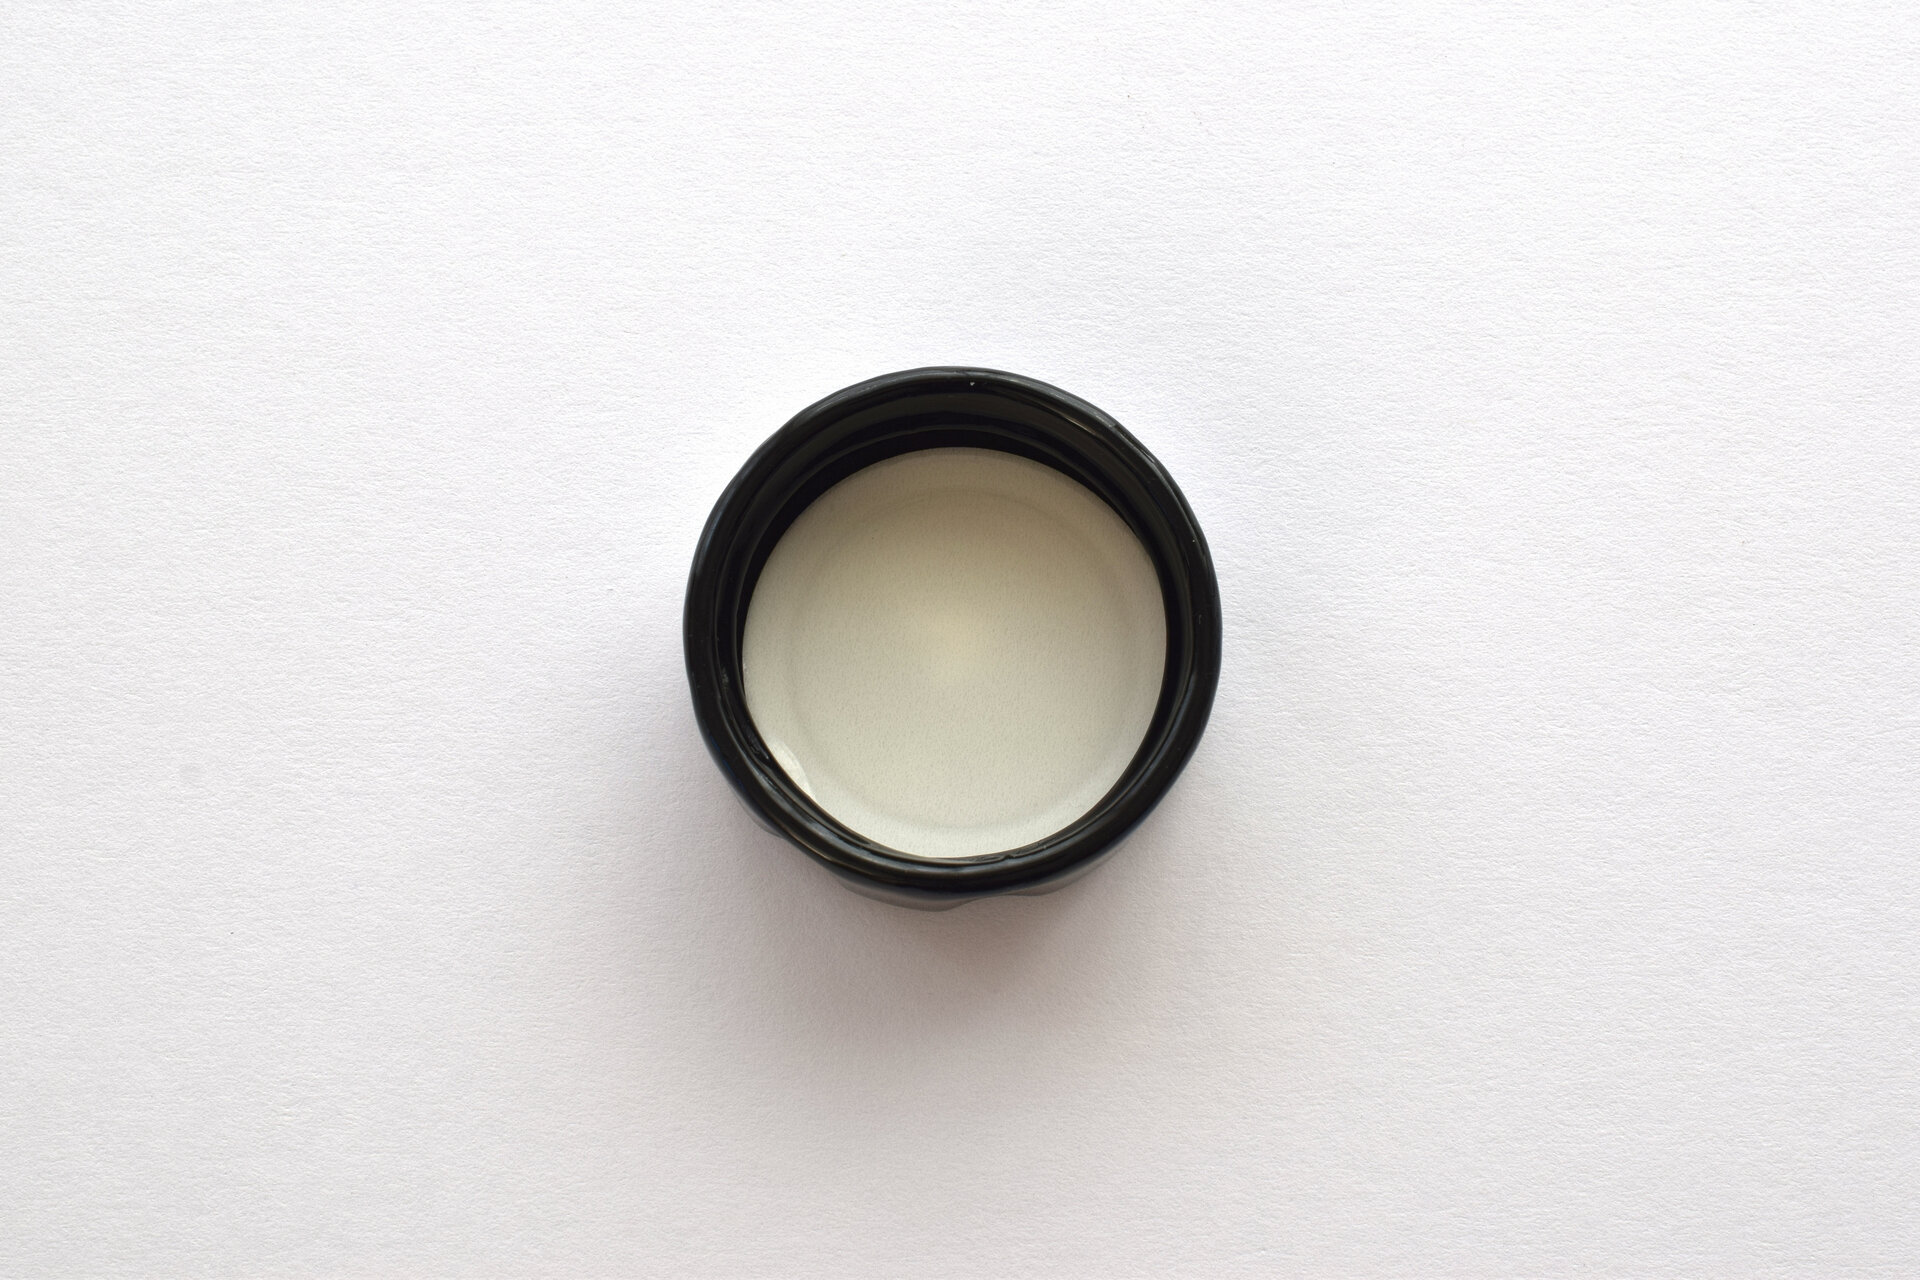 Fig. 11
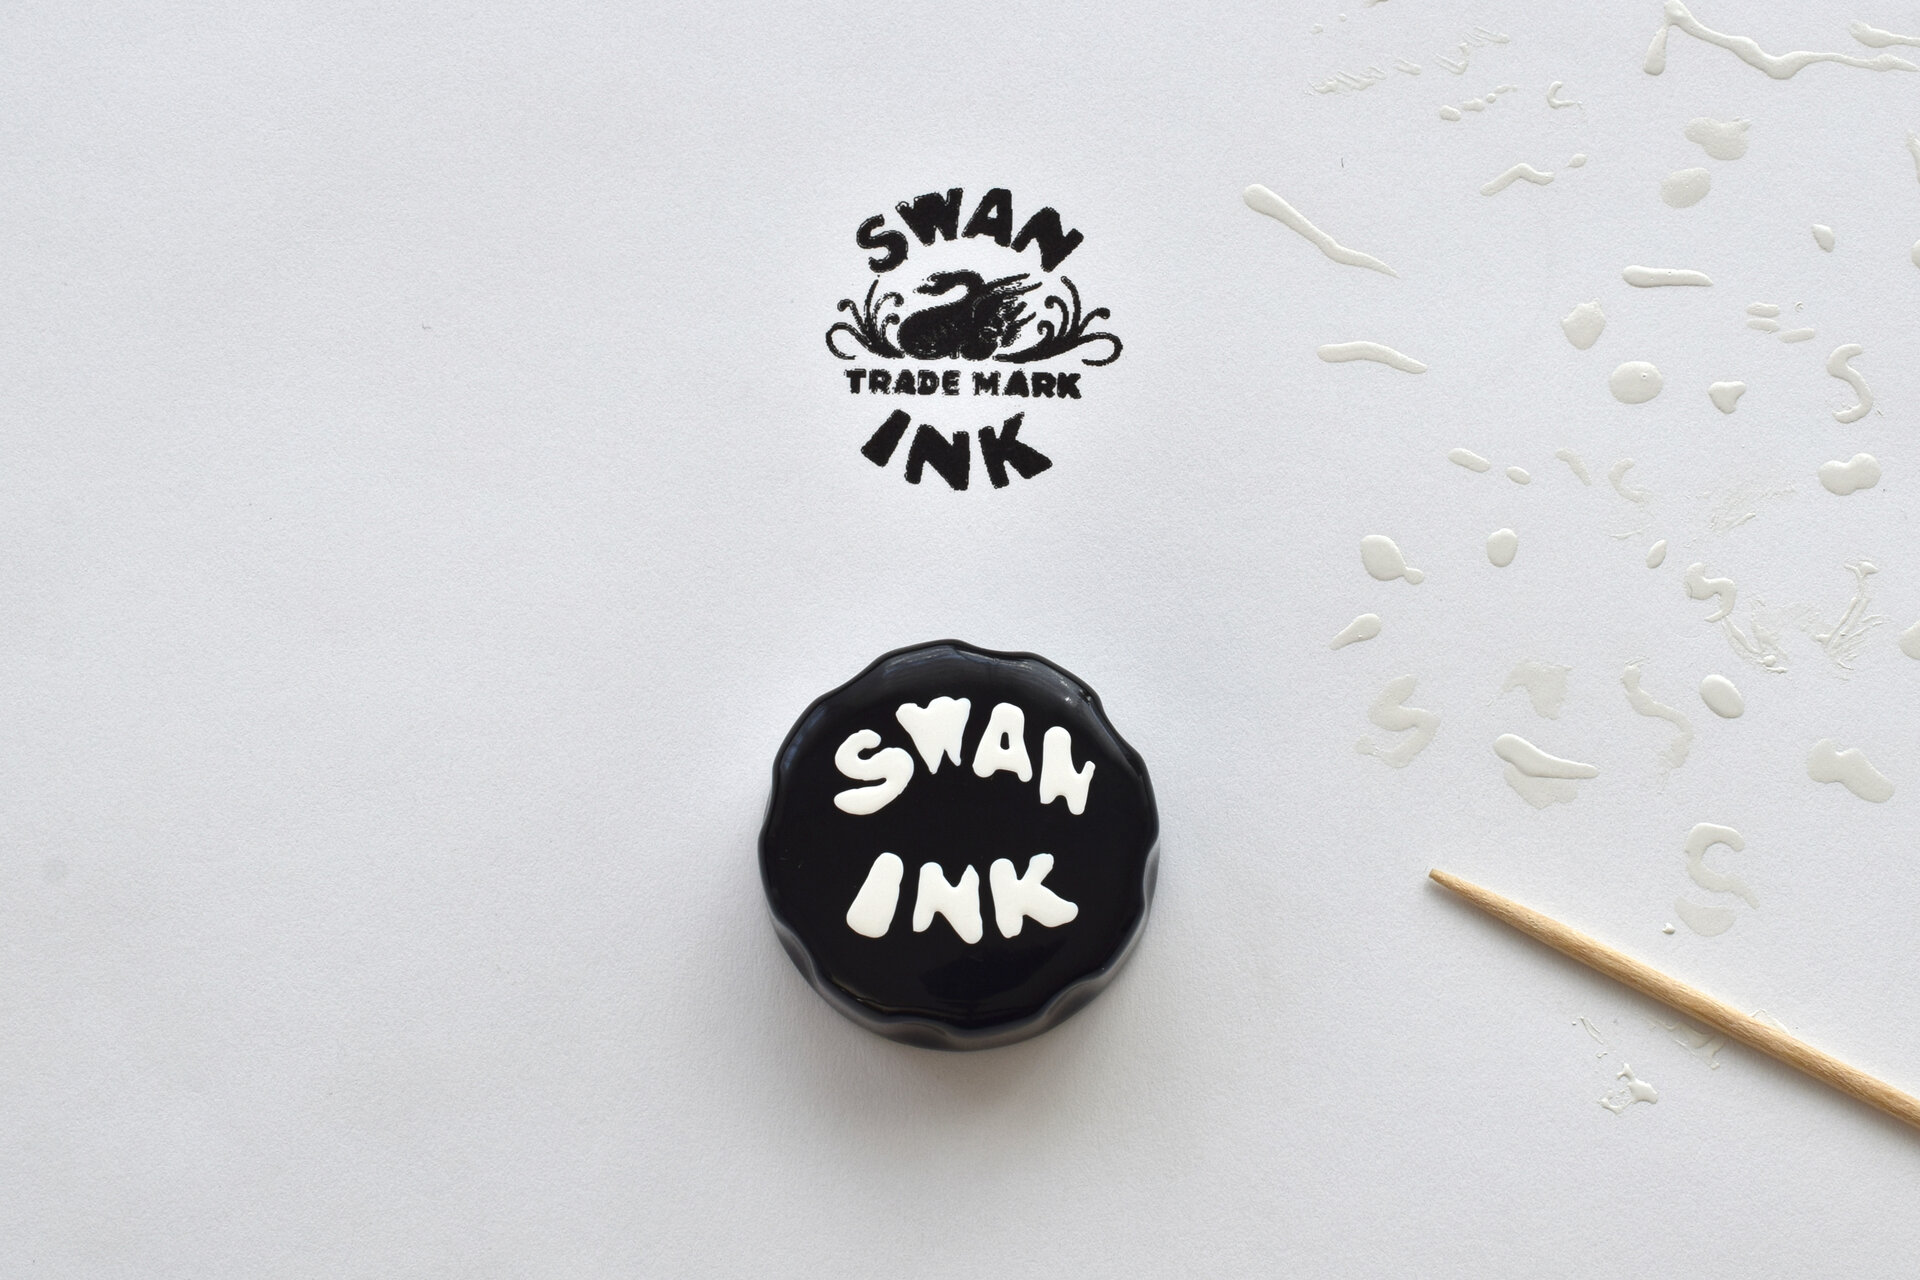 Fig. 12

